Rescuing Low-Res Drone Images: A Topaz Photo AI Experiment

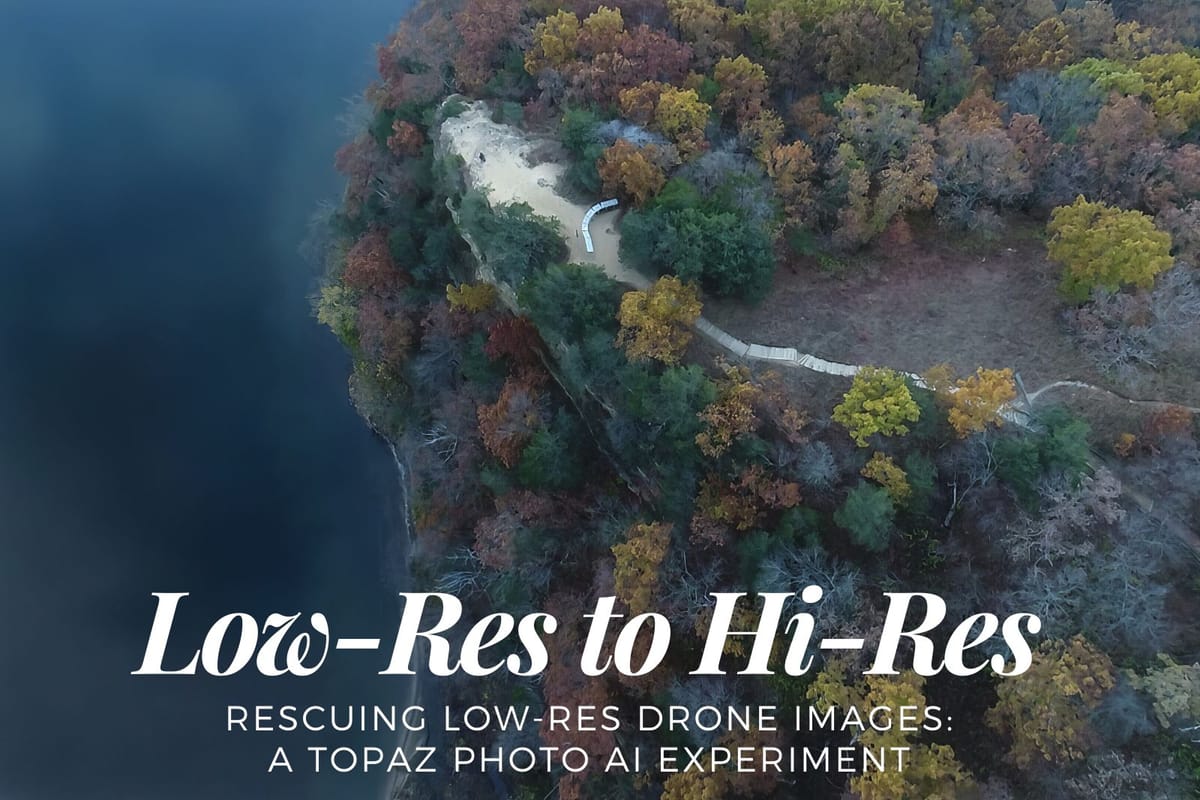
In this blog post, I’m planning to experiment with upscaling photos. I’ll be using Topaz Photo AI to enhance images taken with my DJI Phantom 4 Pro drone. These pictures were saved in low resolution because I forgot to insert a memory card, and I hope to recover the lost detail through this process.
With newer drones, this wouldn’t have been such a problem because most of DJI’s Pro Drones come with 8GB of internal storage. On the day I forgot my memory card, this would have been enough, especially since I didn’t take many photos.
I first experimented with this software when version 2.0 was released. Since then, it has received several updates, and now I’m working with Topaz Photo AI version 2.1.1. Let’s see how this software has matured.
This post was originally published on November 14, 2023. I’m excited to revisit these images using the latest versions of Gigapixel 8 (trained on millions of images and over 2 billion processed) and Photo AI 3!
Topaz Photo AI
- Sharpen, remove noise, and increase the resolution of your photos with tomorrow's technology.
- 1 Year of Unlimited Upgrades
- Unconditional 30-Day Refund Guarantee
When you upload an image to the software, it automatically selects the AI Model it thinks is best suited for that image. The options include Standard, Graphics, High Fidelity, or Low Resolution.
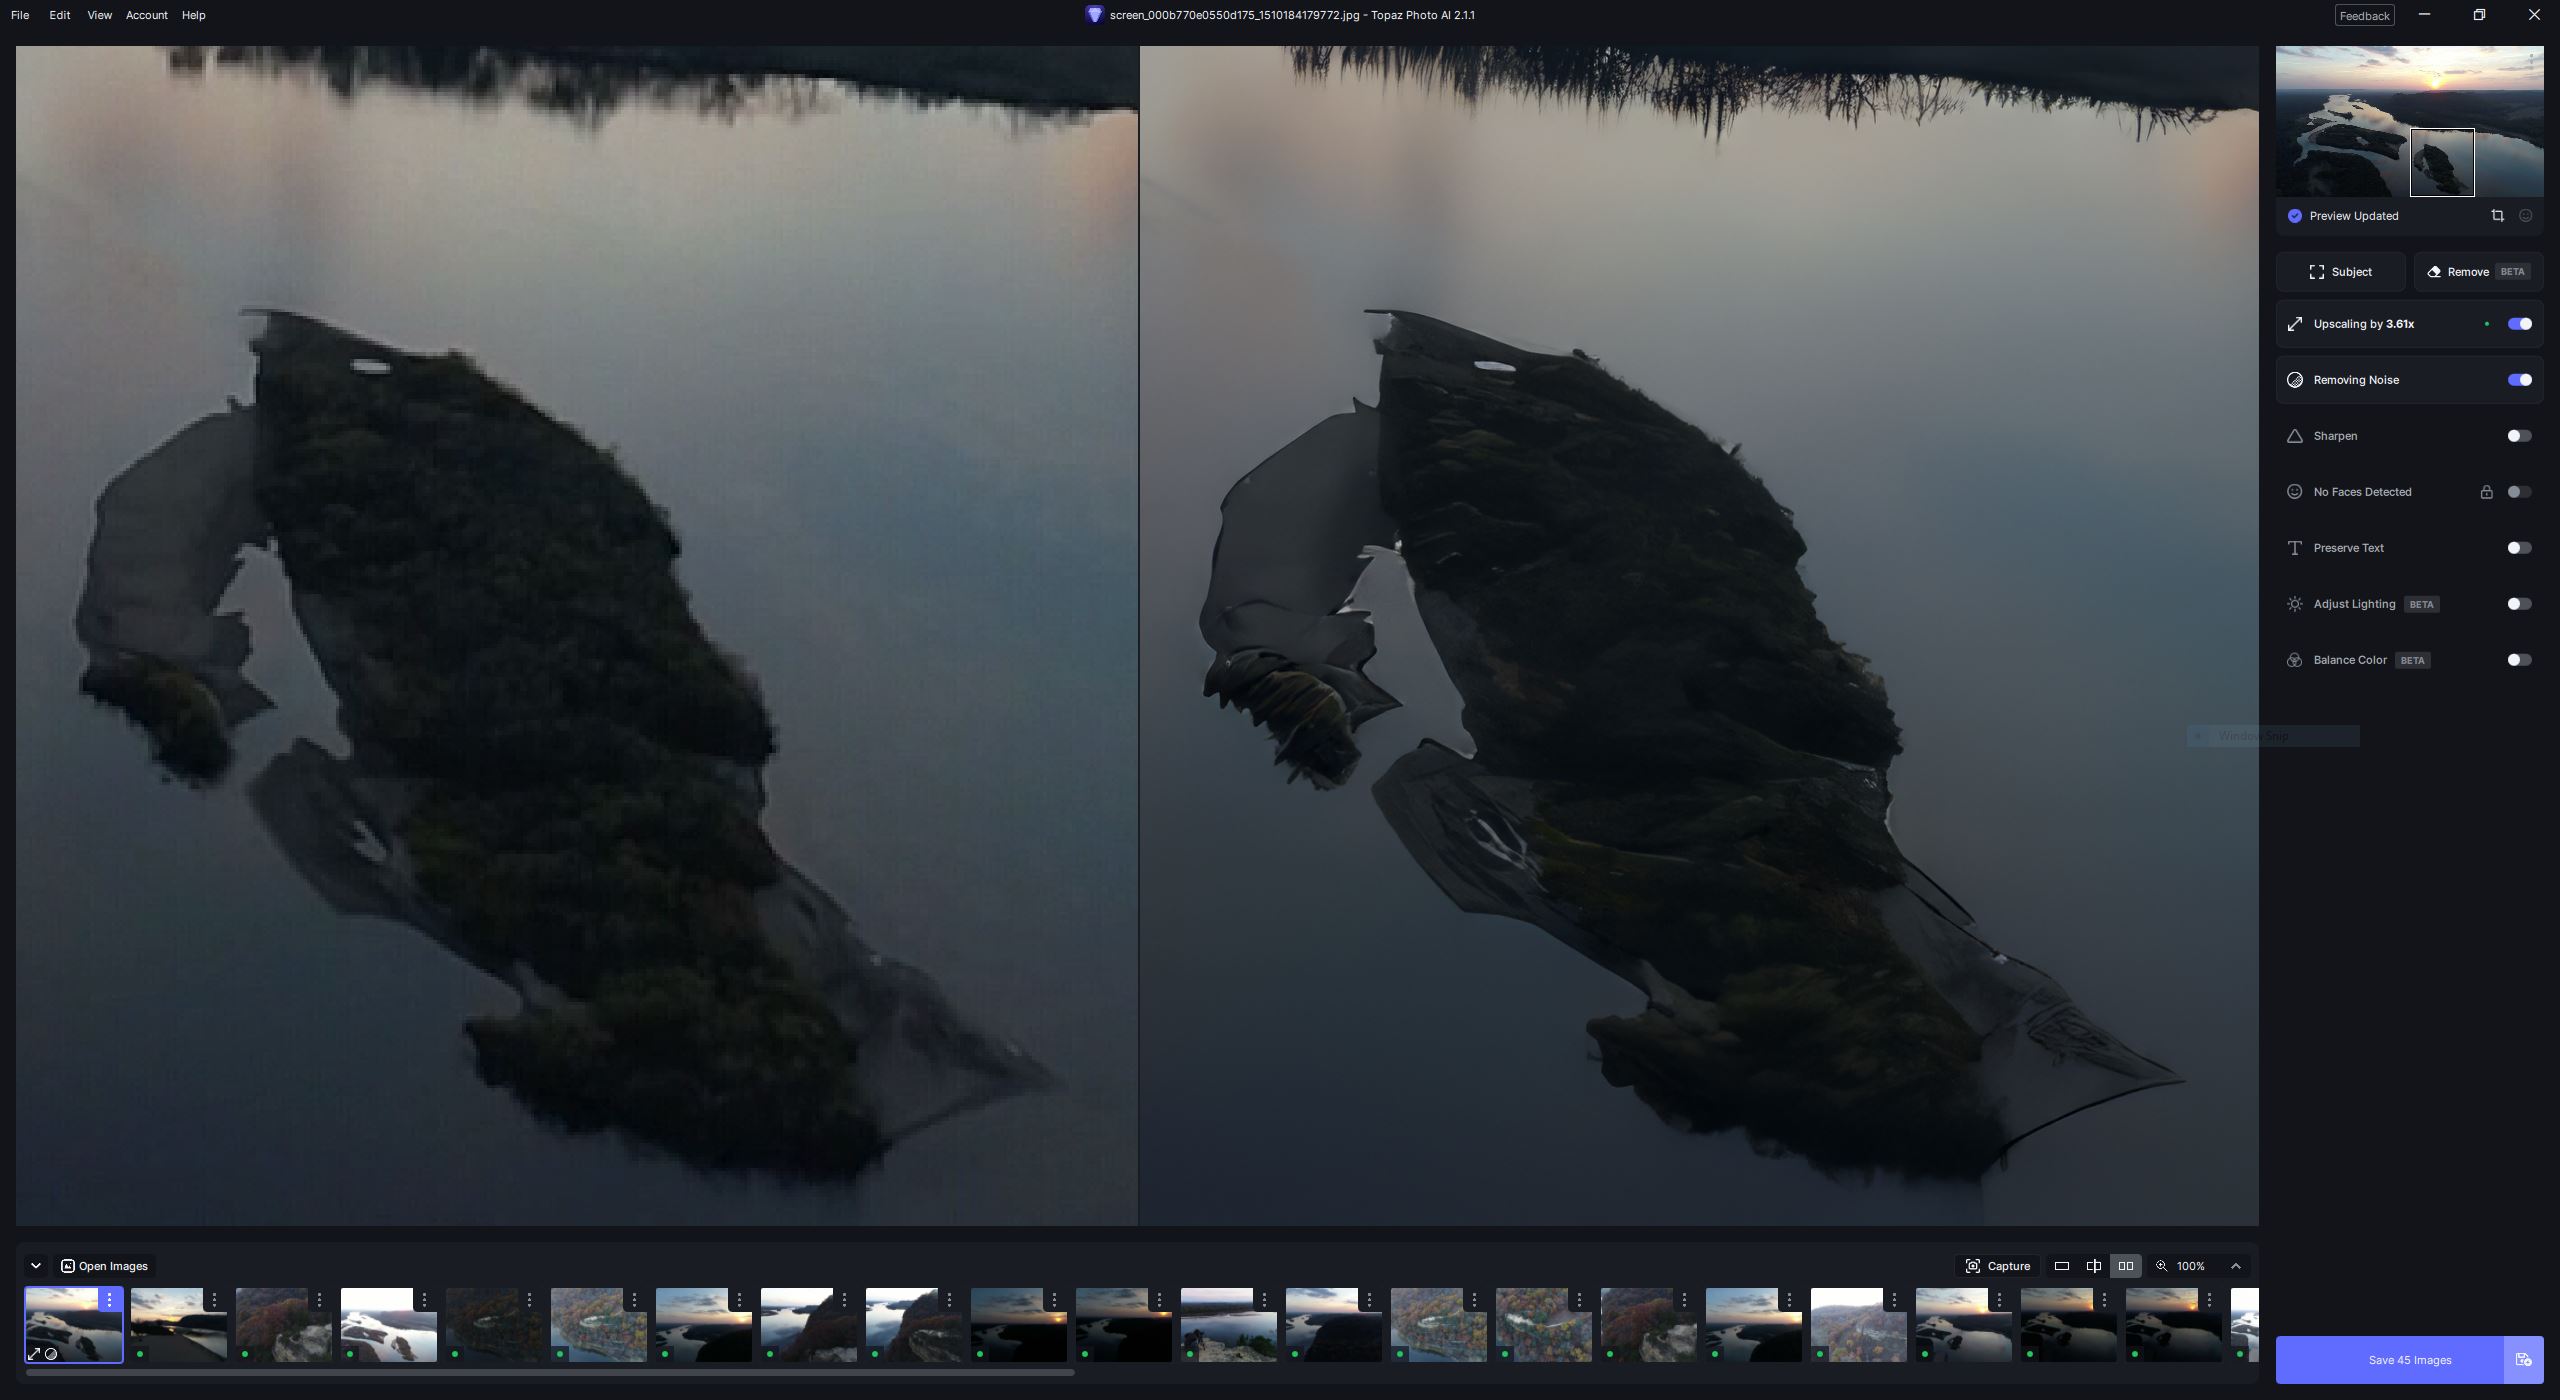
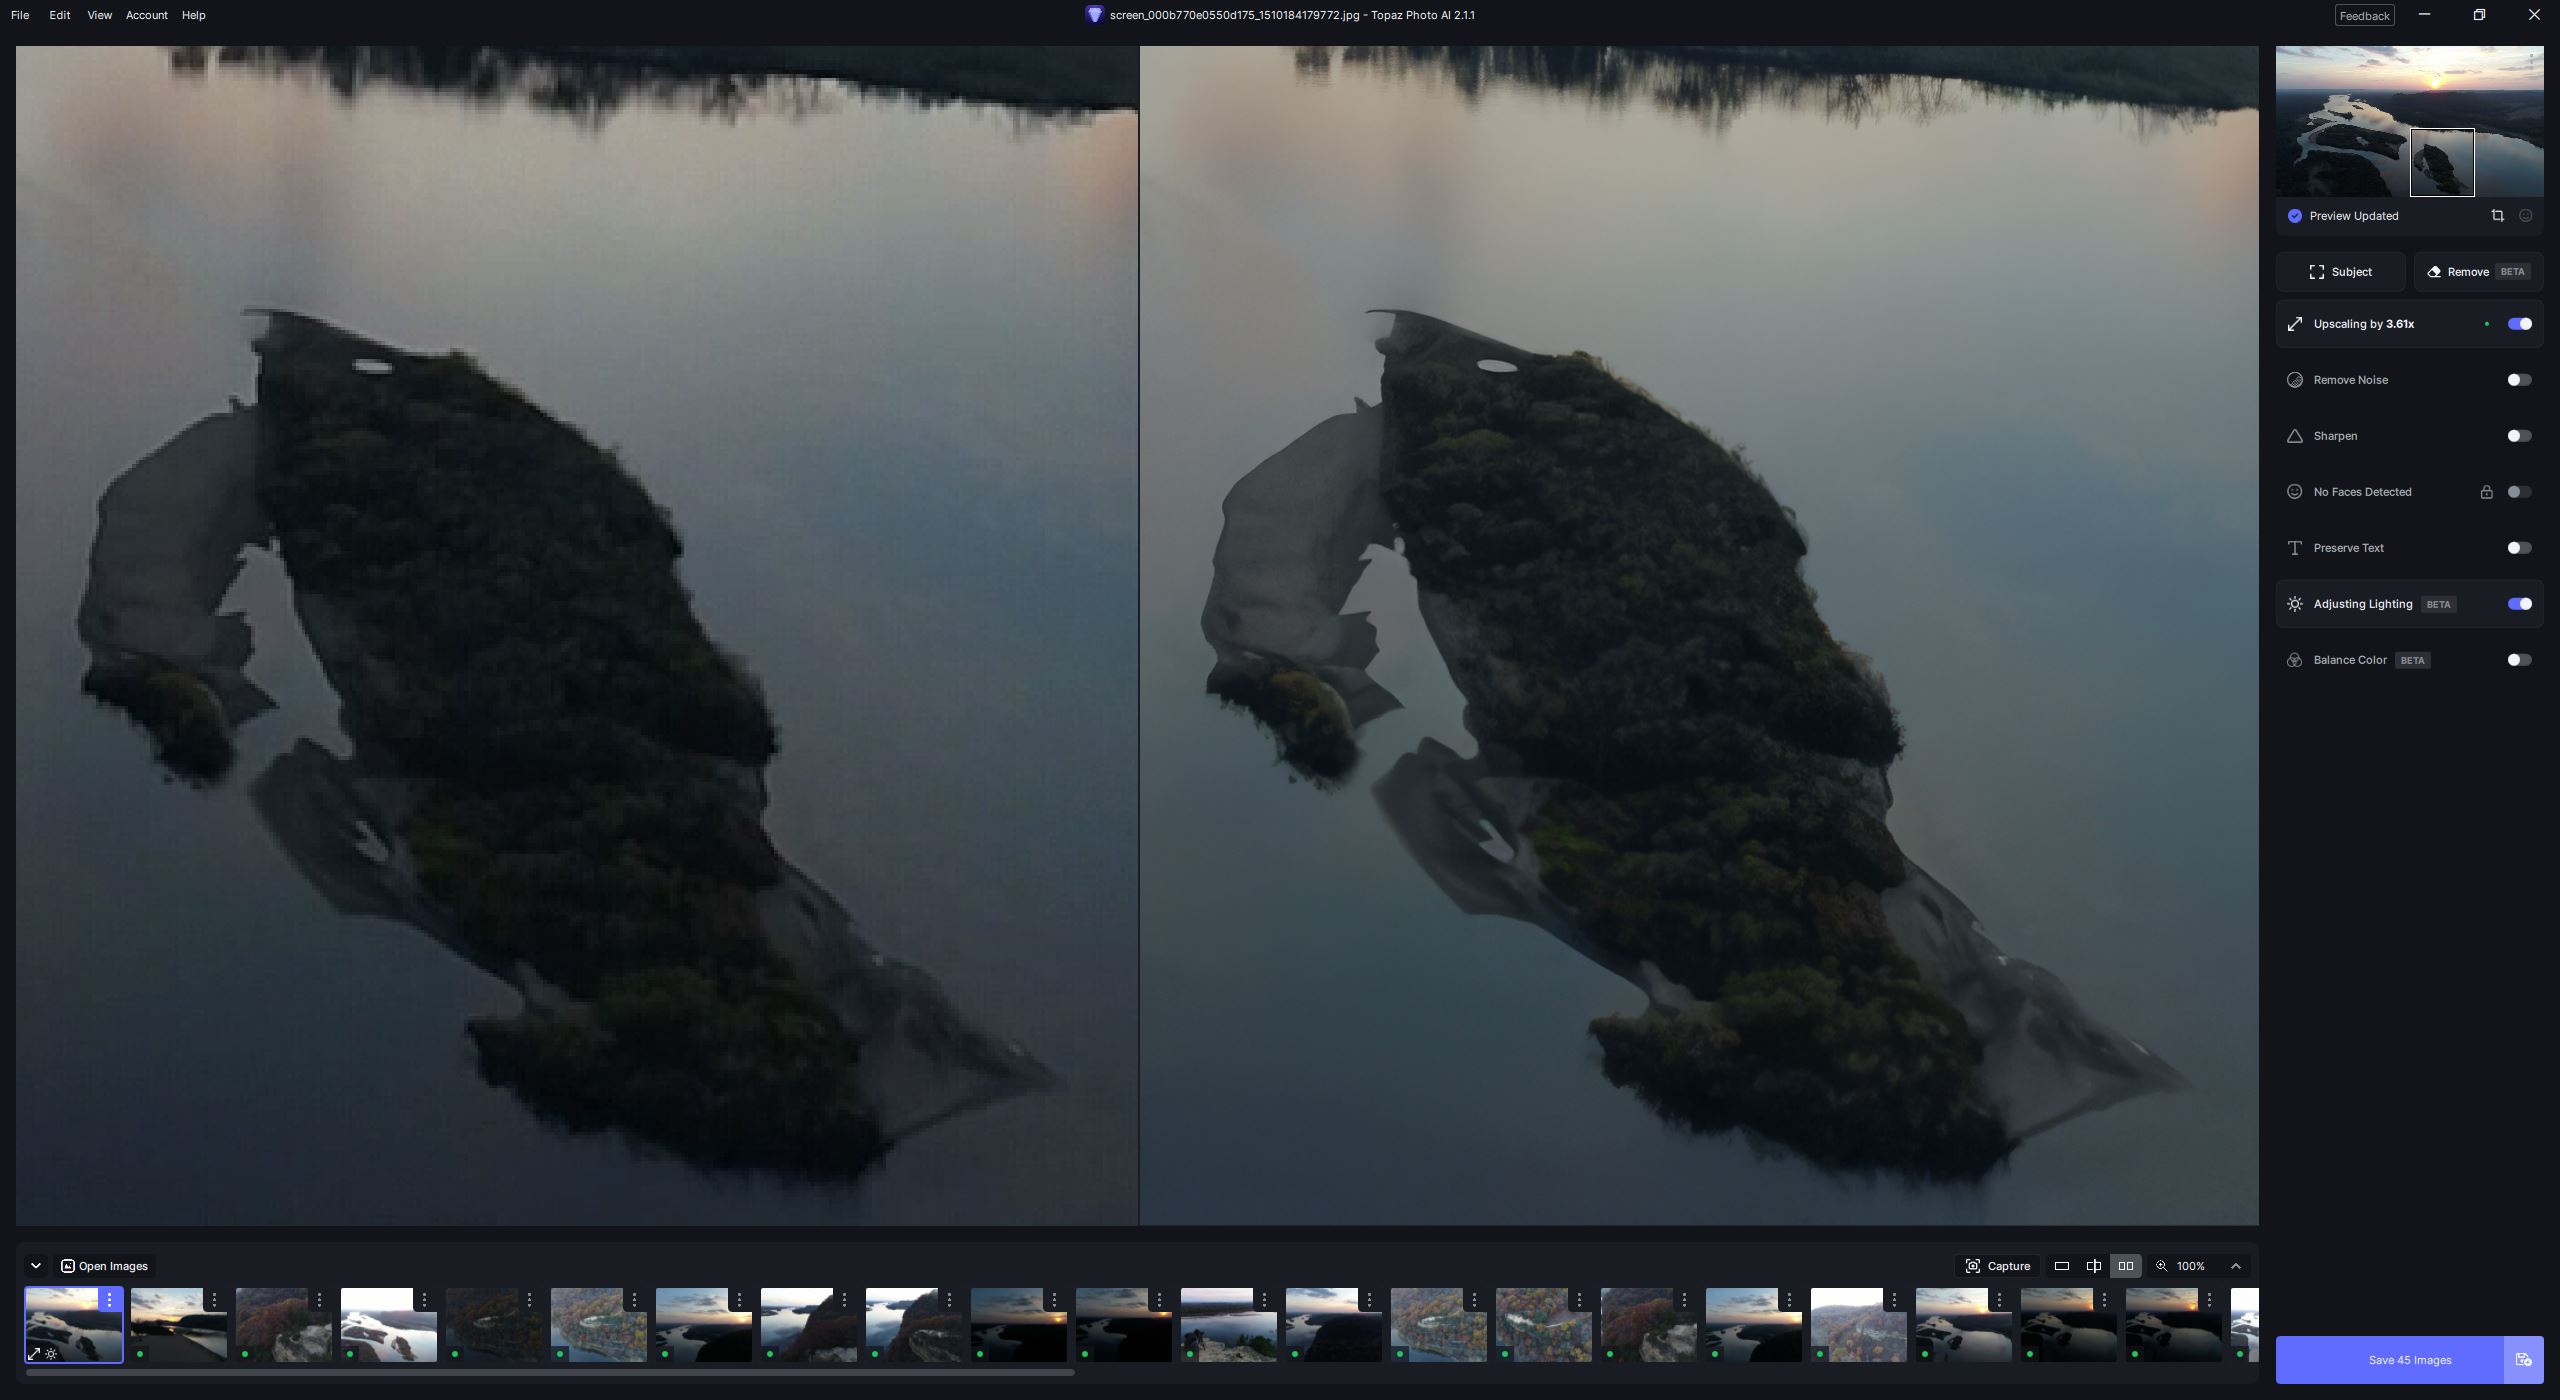
Upscaling 3.61x
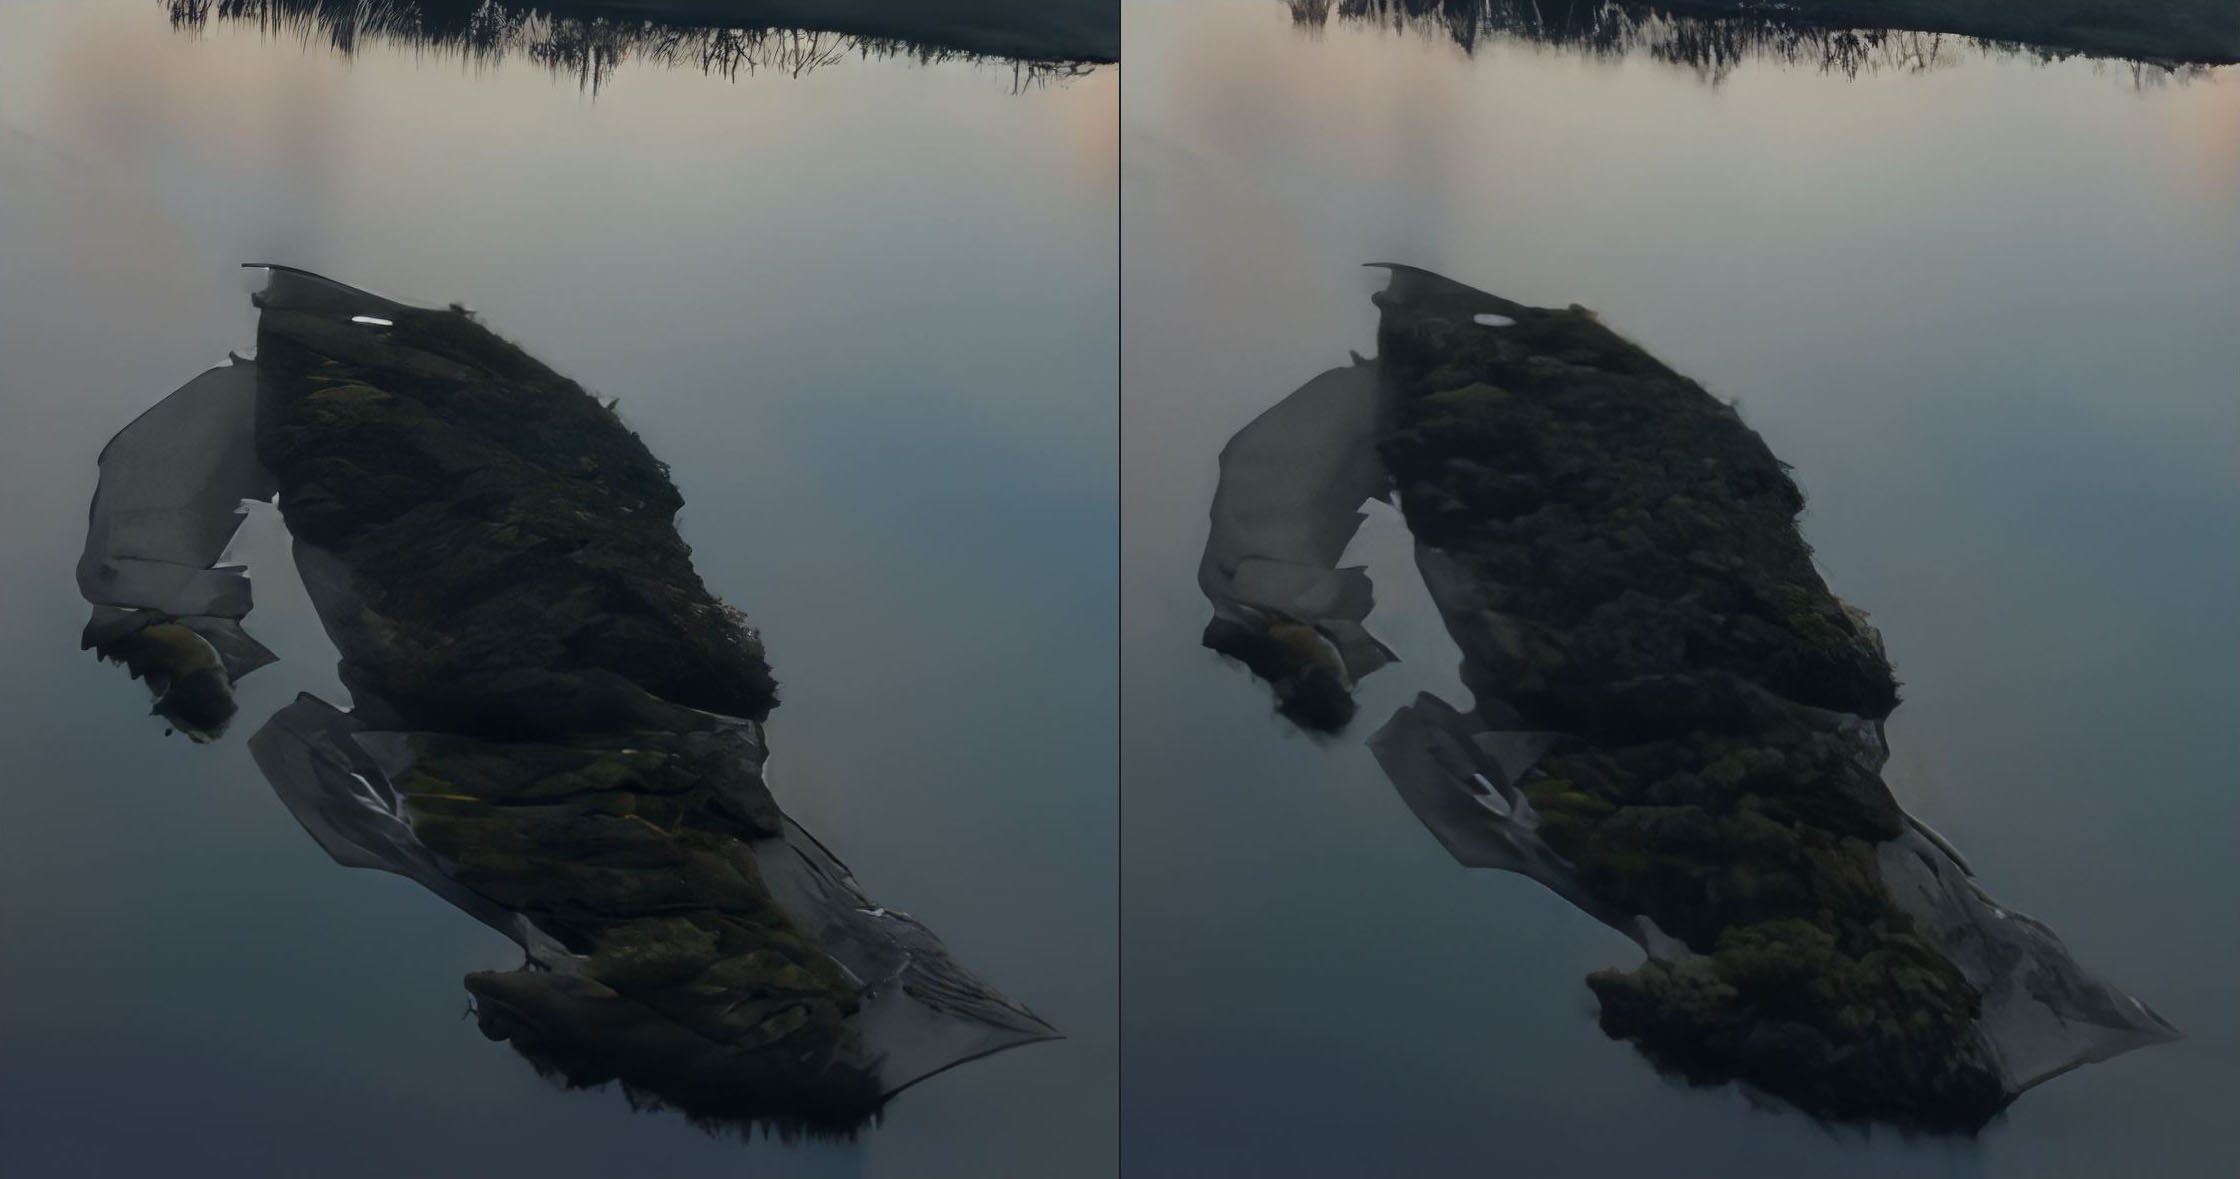
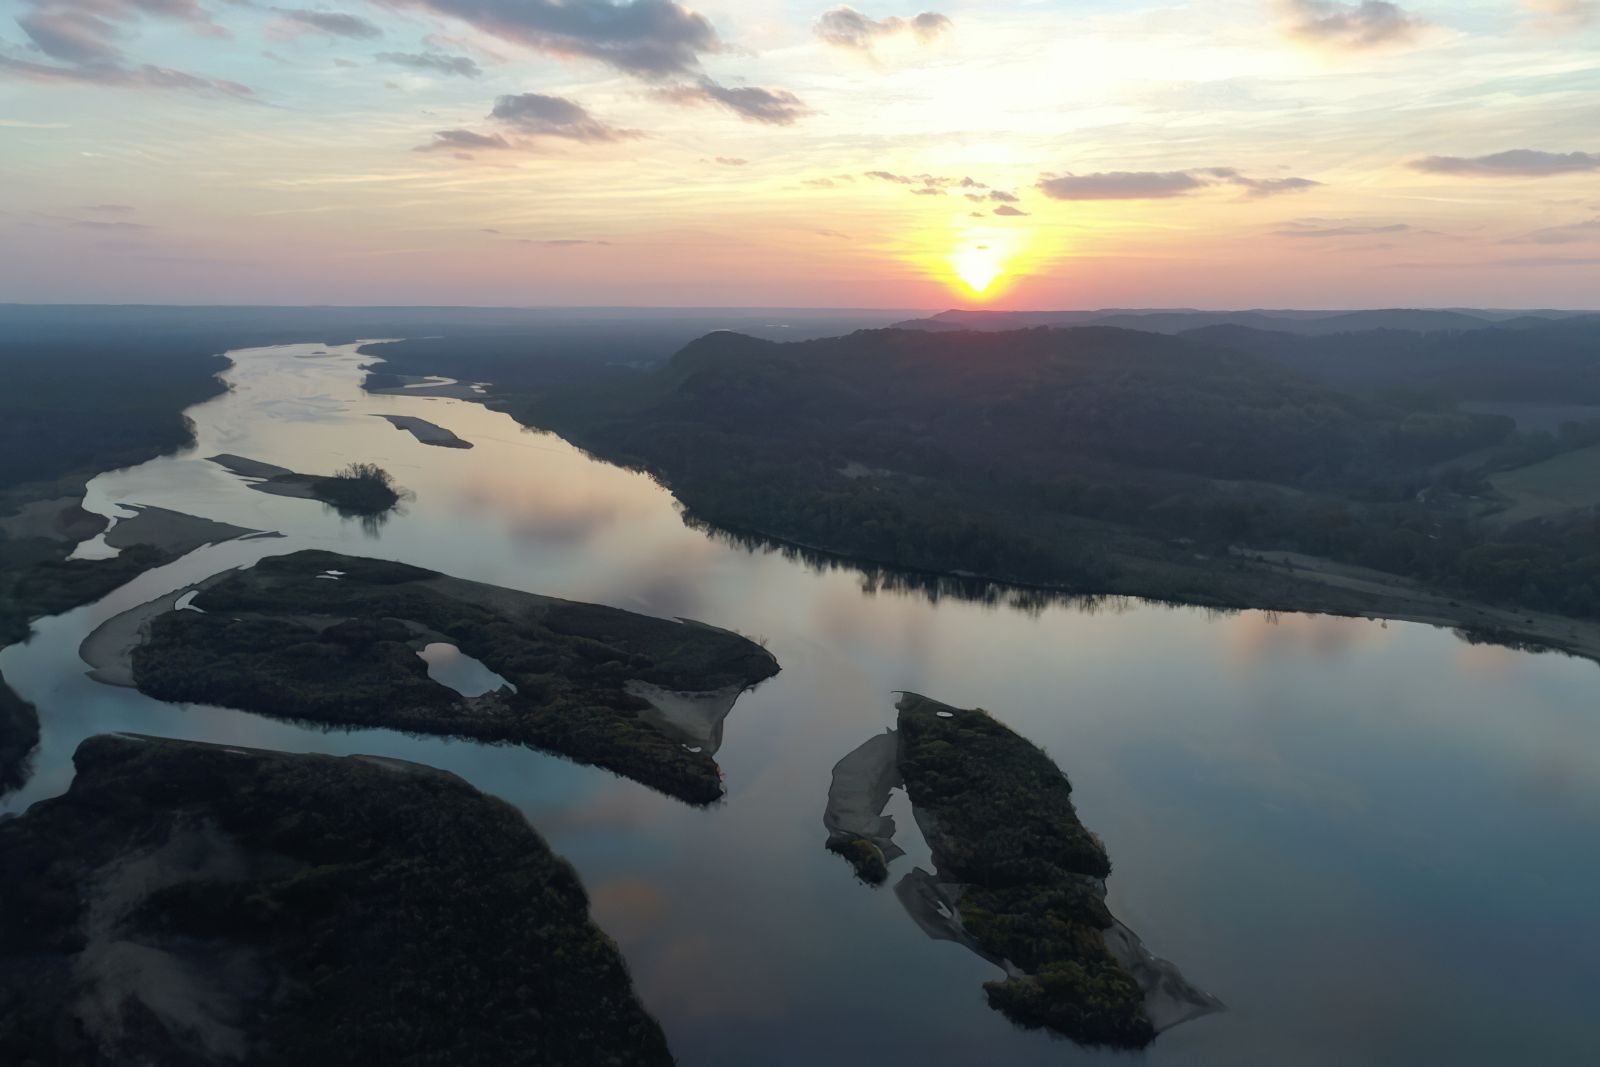
First, here is the image with 3.61x (default) upscaling on this first image. I am impressed by how well it seems to improve the edges around this sandbar island however it’s still quite muddy looking within the trees. It also managed to enhance the reflections at the top of this crop, too.
The upscaled image has a slightly more pronounced contrast, with darker darks and brighter highlights, and the colors seem more vibrant.

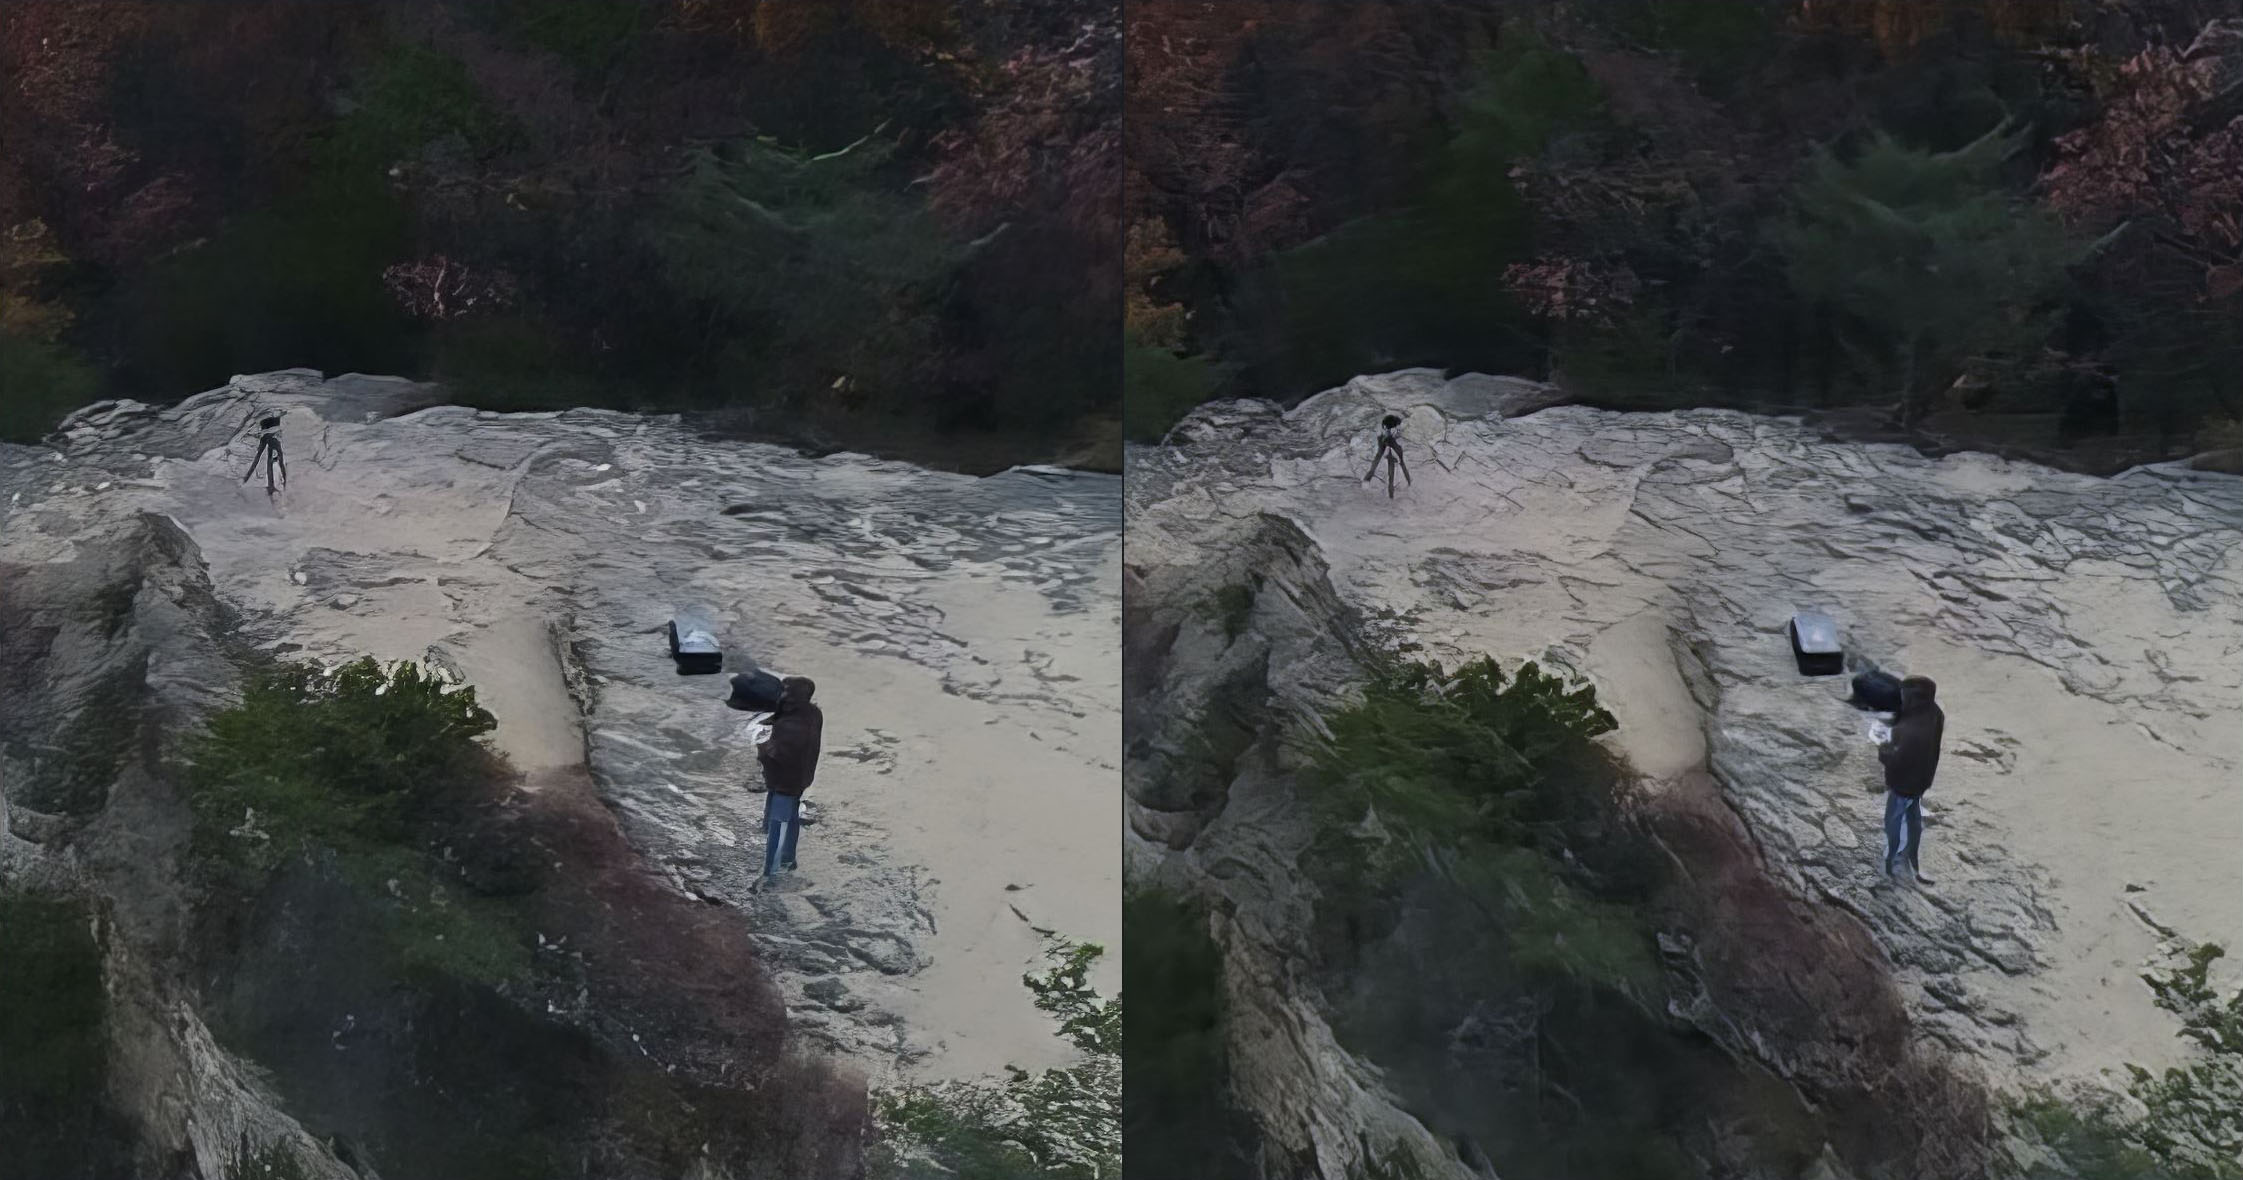
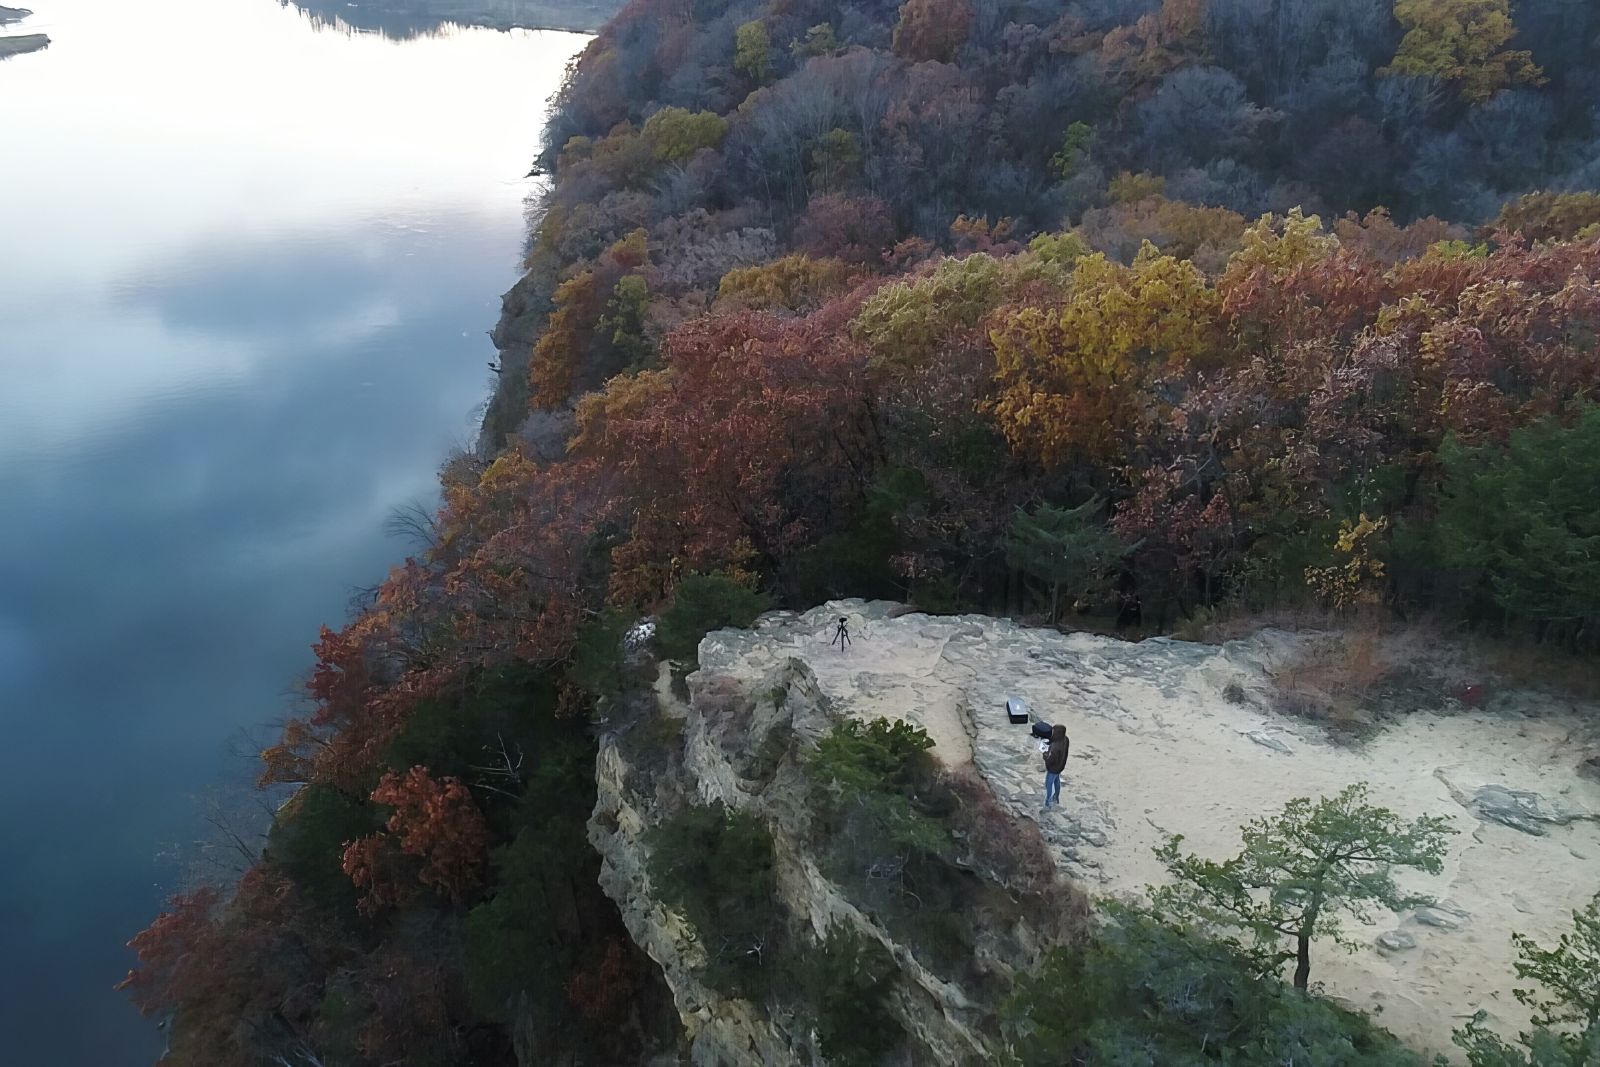
Here’s another upscale example where it’s not clear what I’m holding, but you can recognize a controller in the enhanced image.

Adding “Removing Noise”
I haven’t seen any improvement when using the ‘Removing Noise’ feature in Topaz Photo AI for these images. When this option is on, it creates odd details that I don’t like. It reduces the quality, particularly in the tree area on the sandbar island. It artificially creates sharper, more spikey reflections at the top.
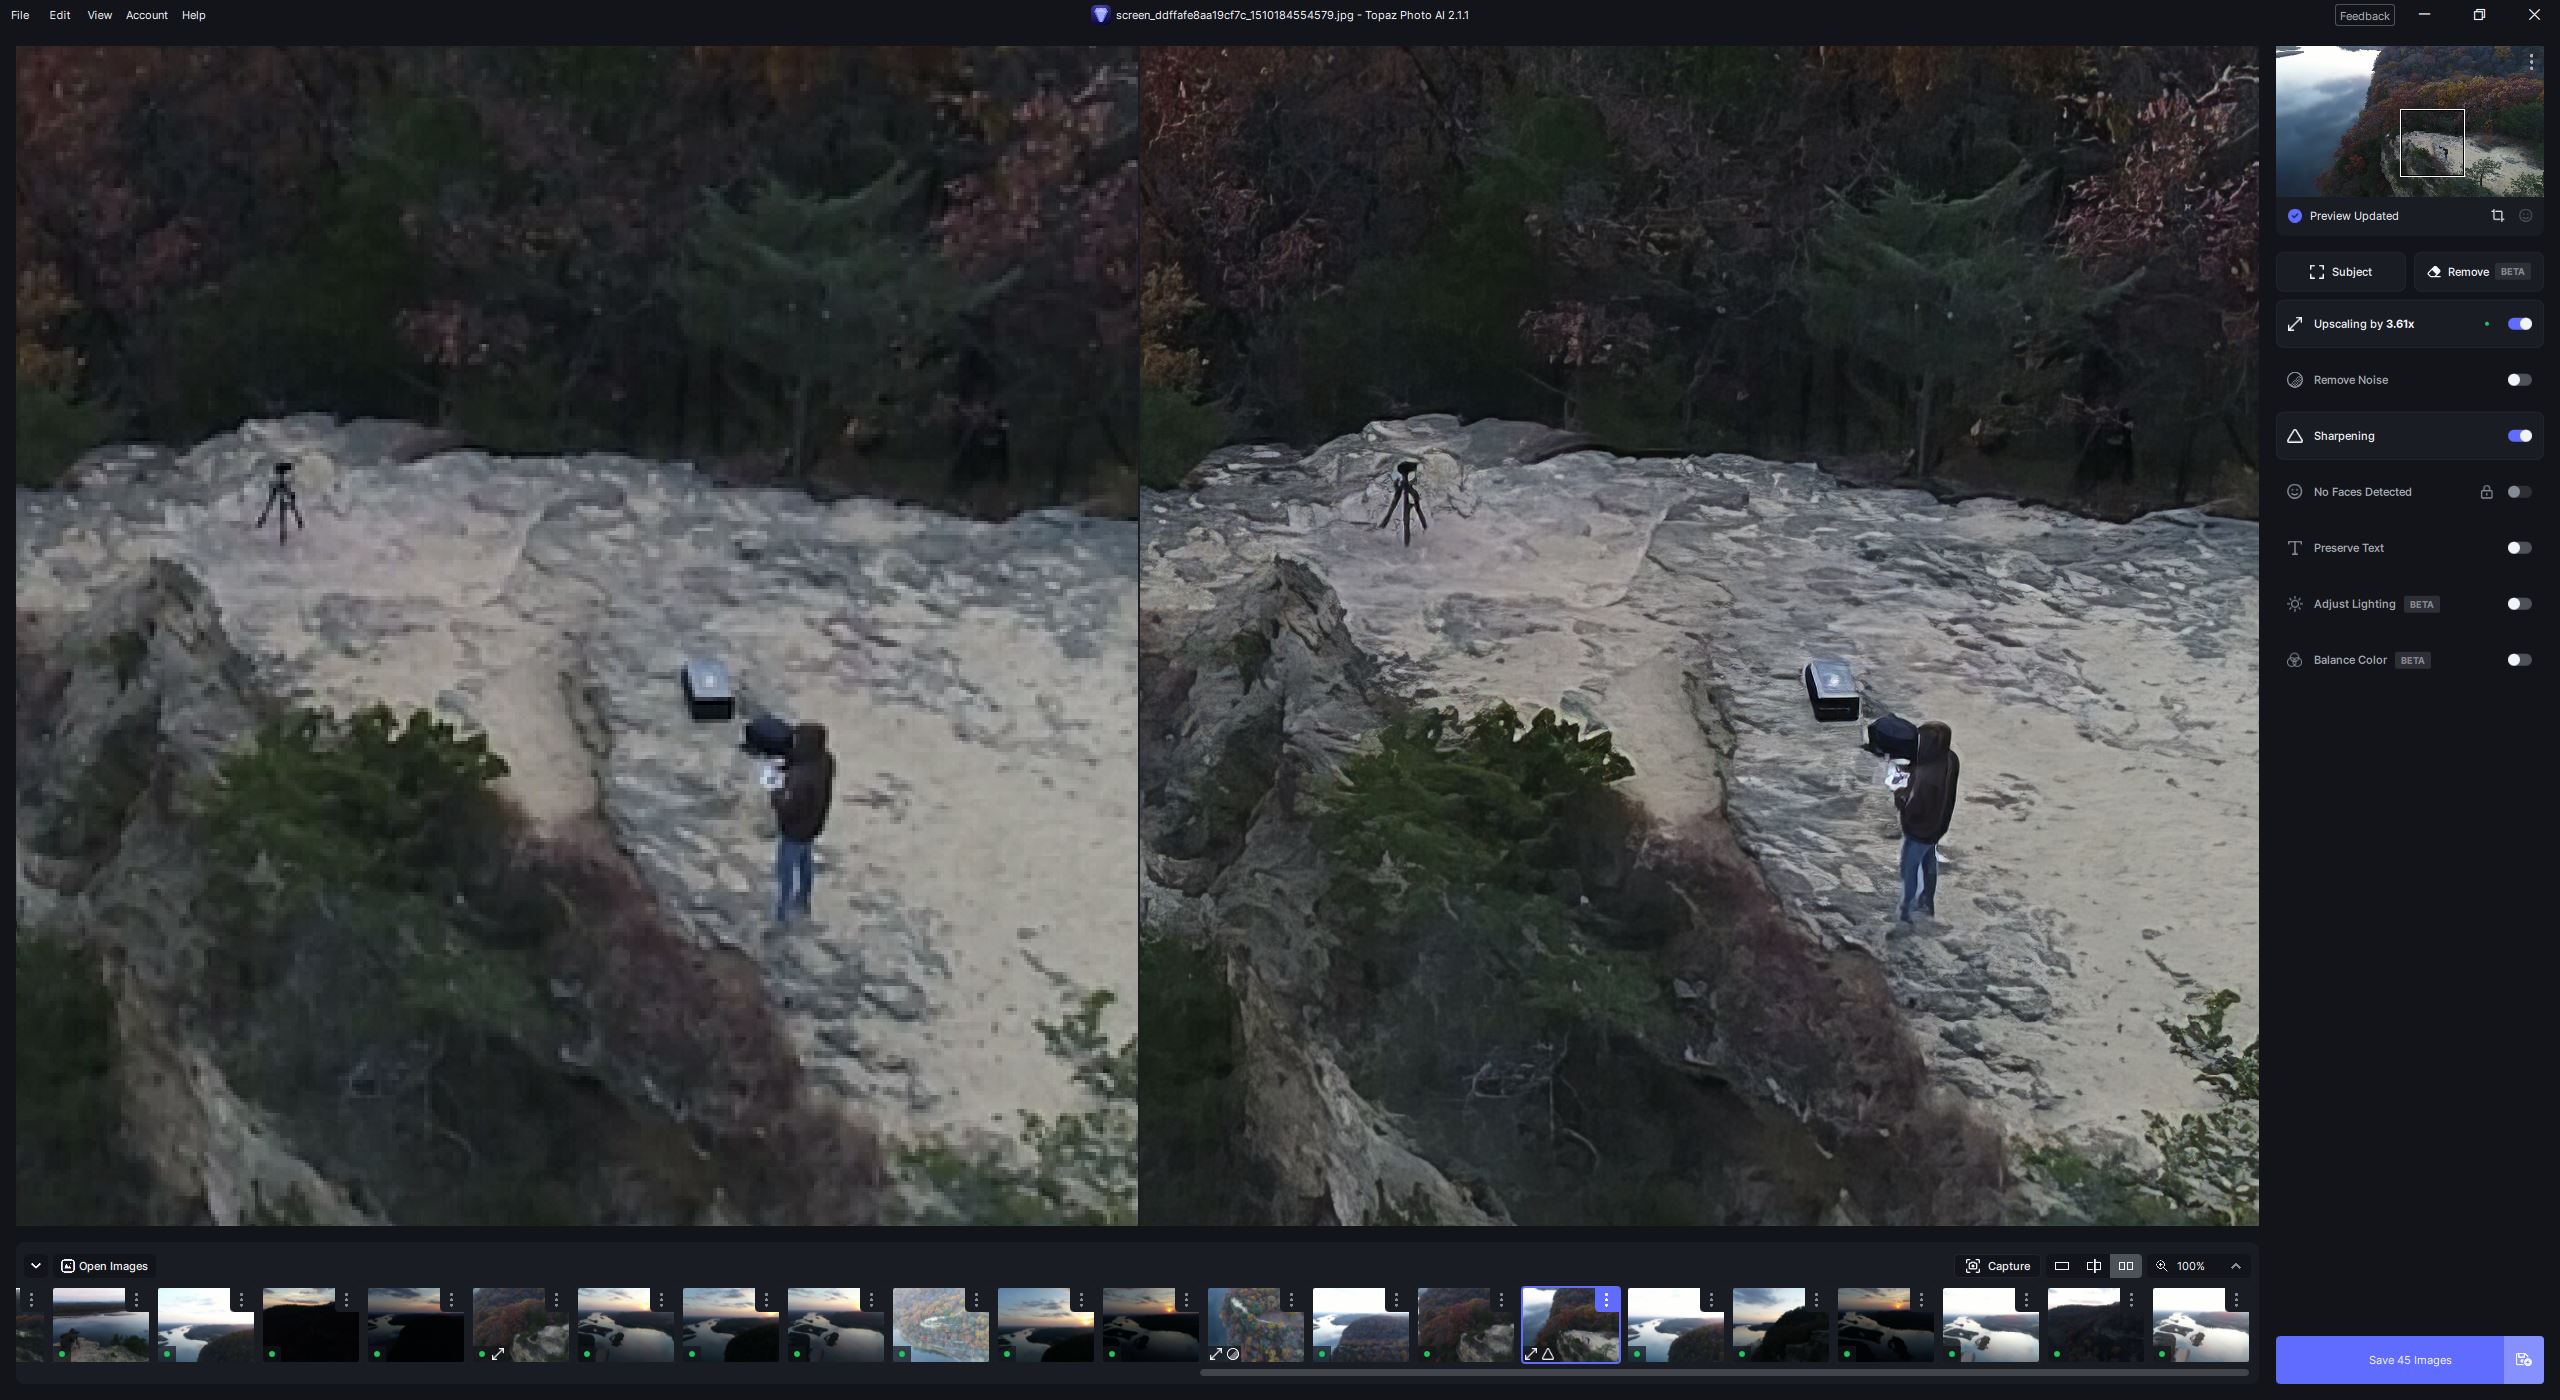
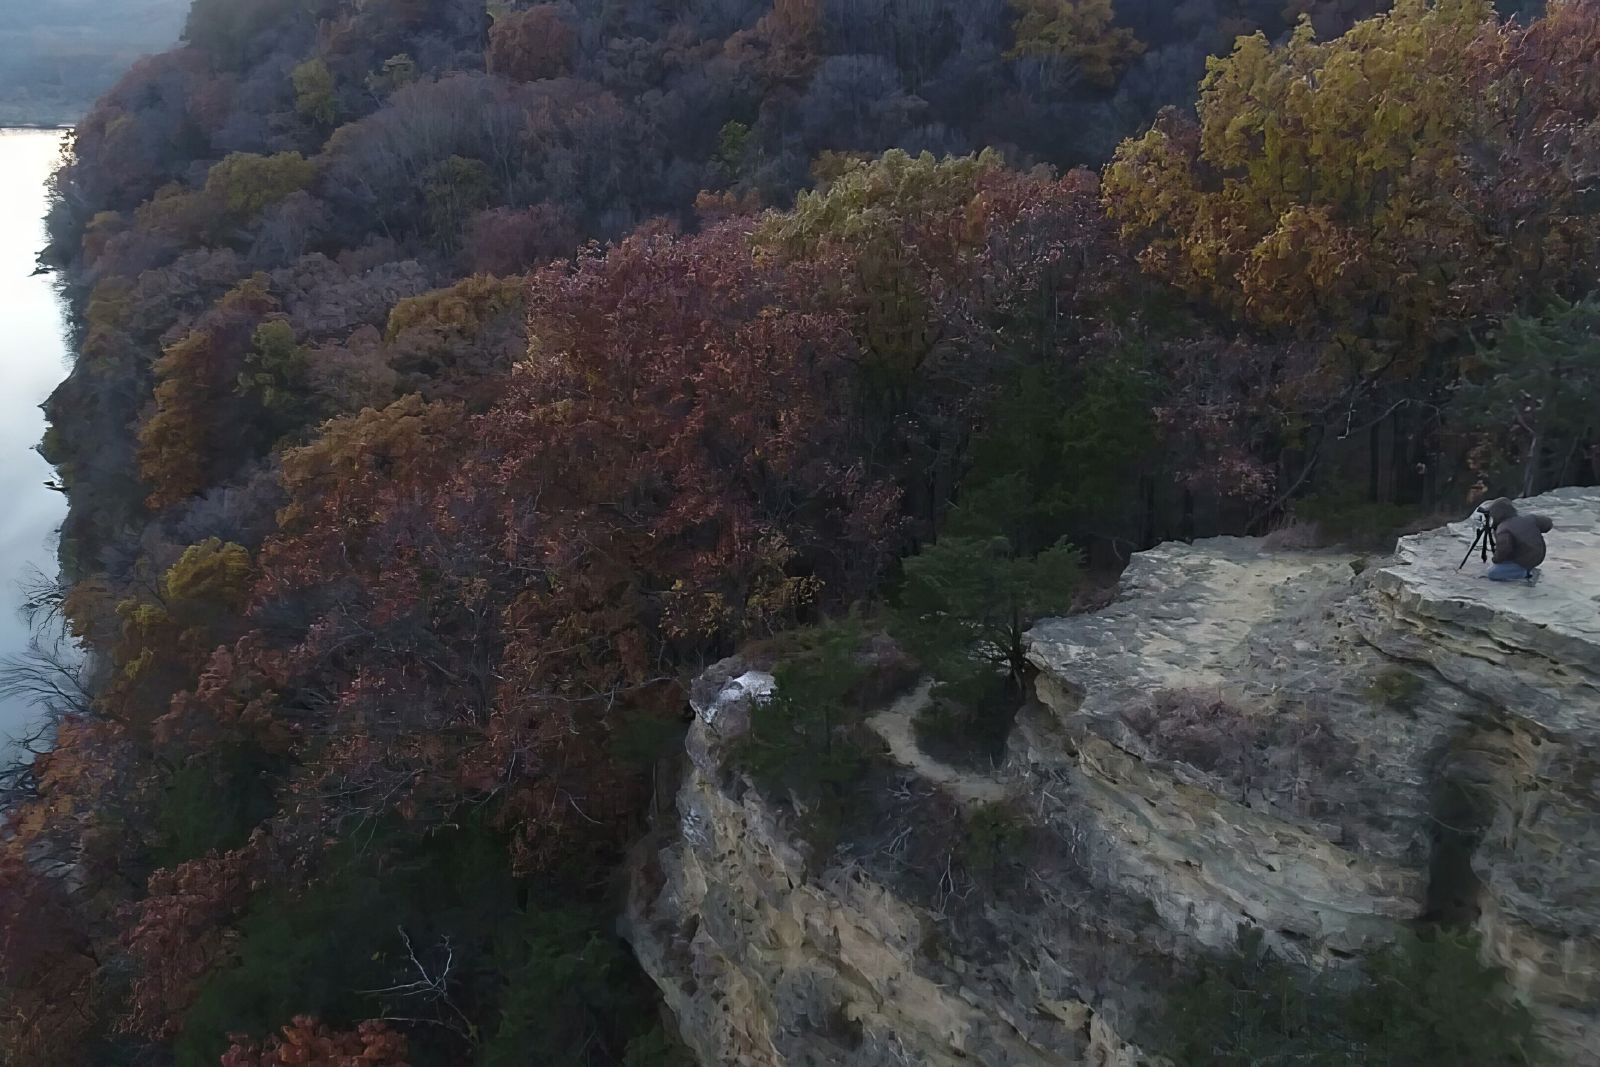
Adding “Sharpening Subject”
In this image, I’m undecided if this an improvement.

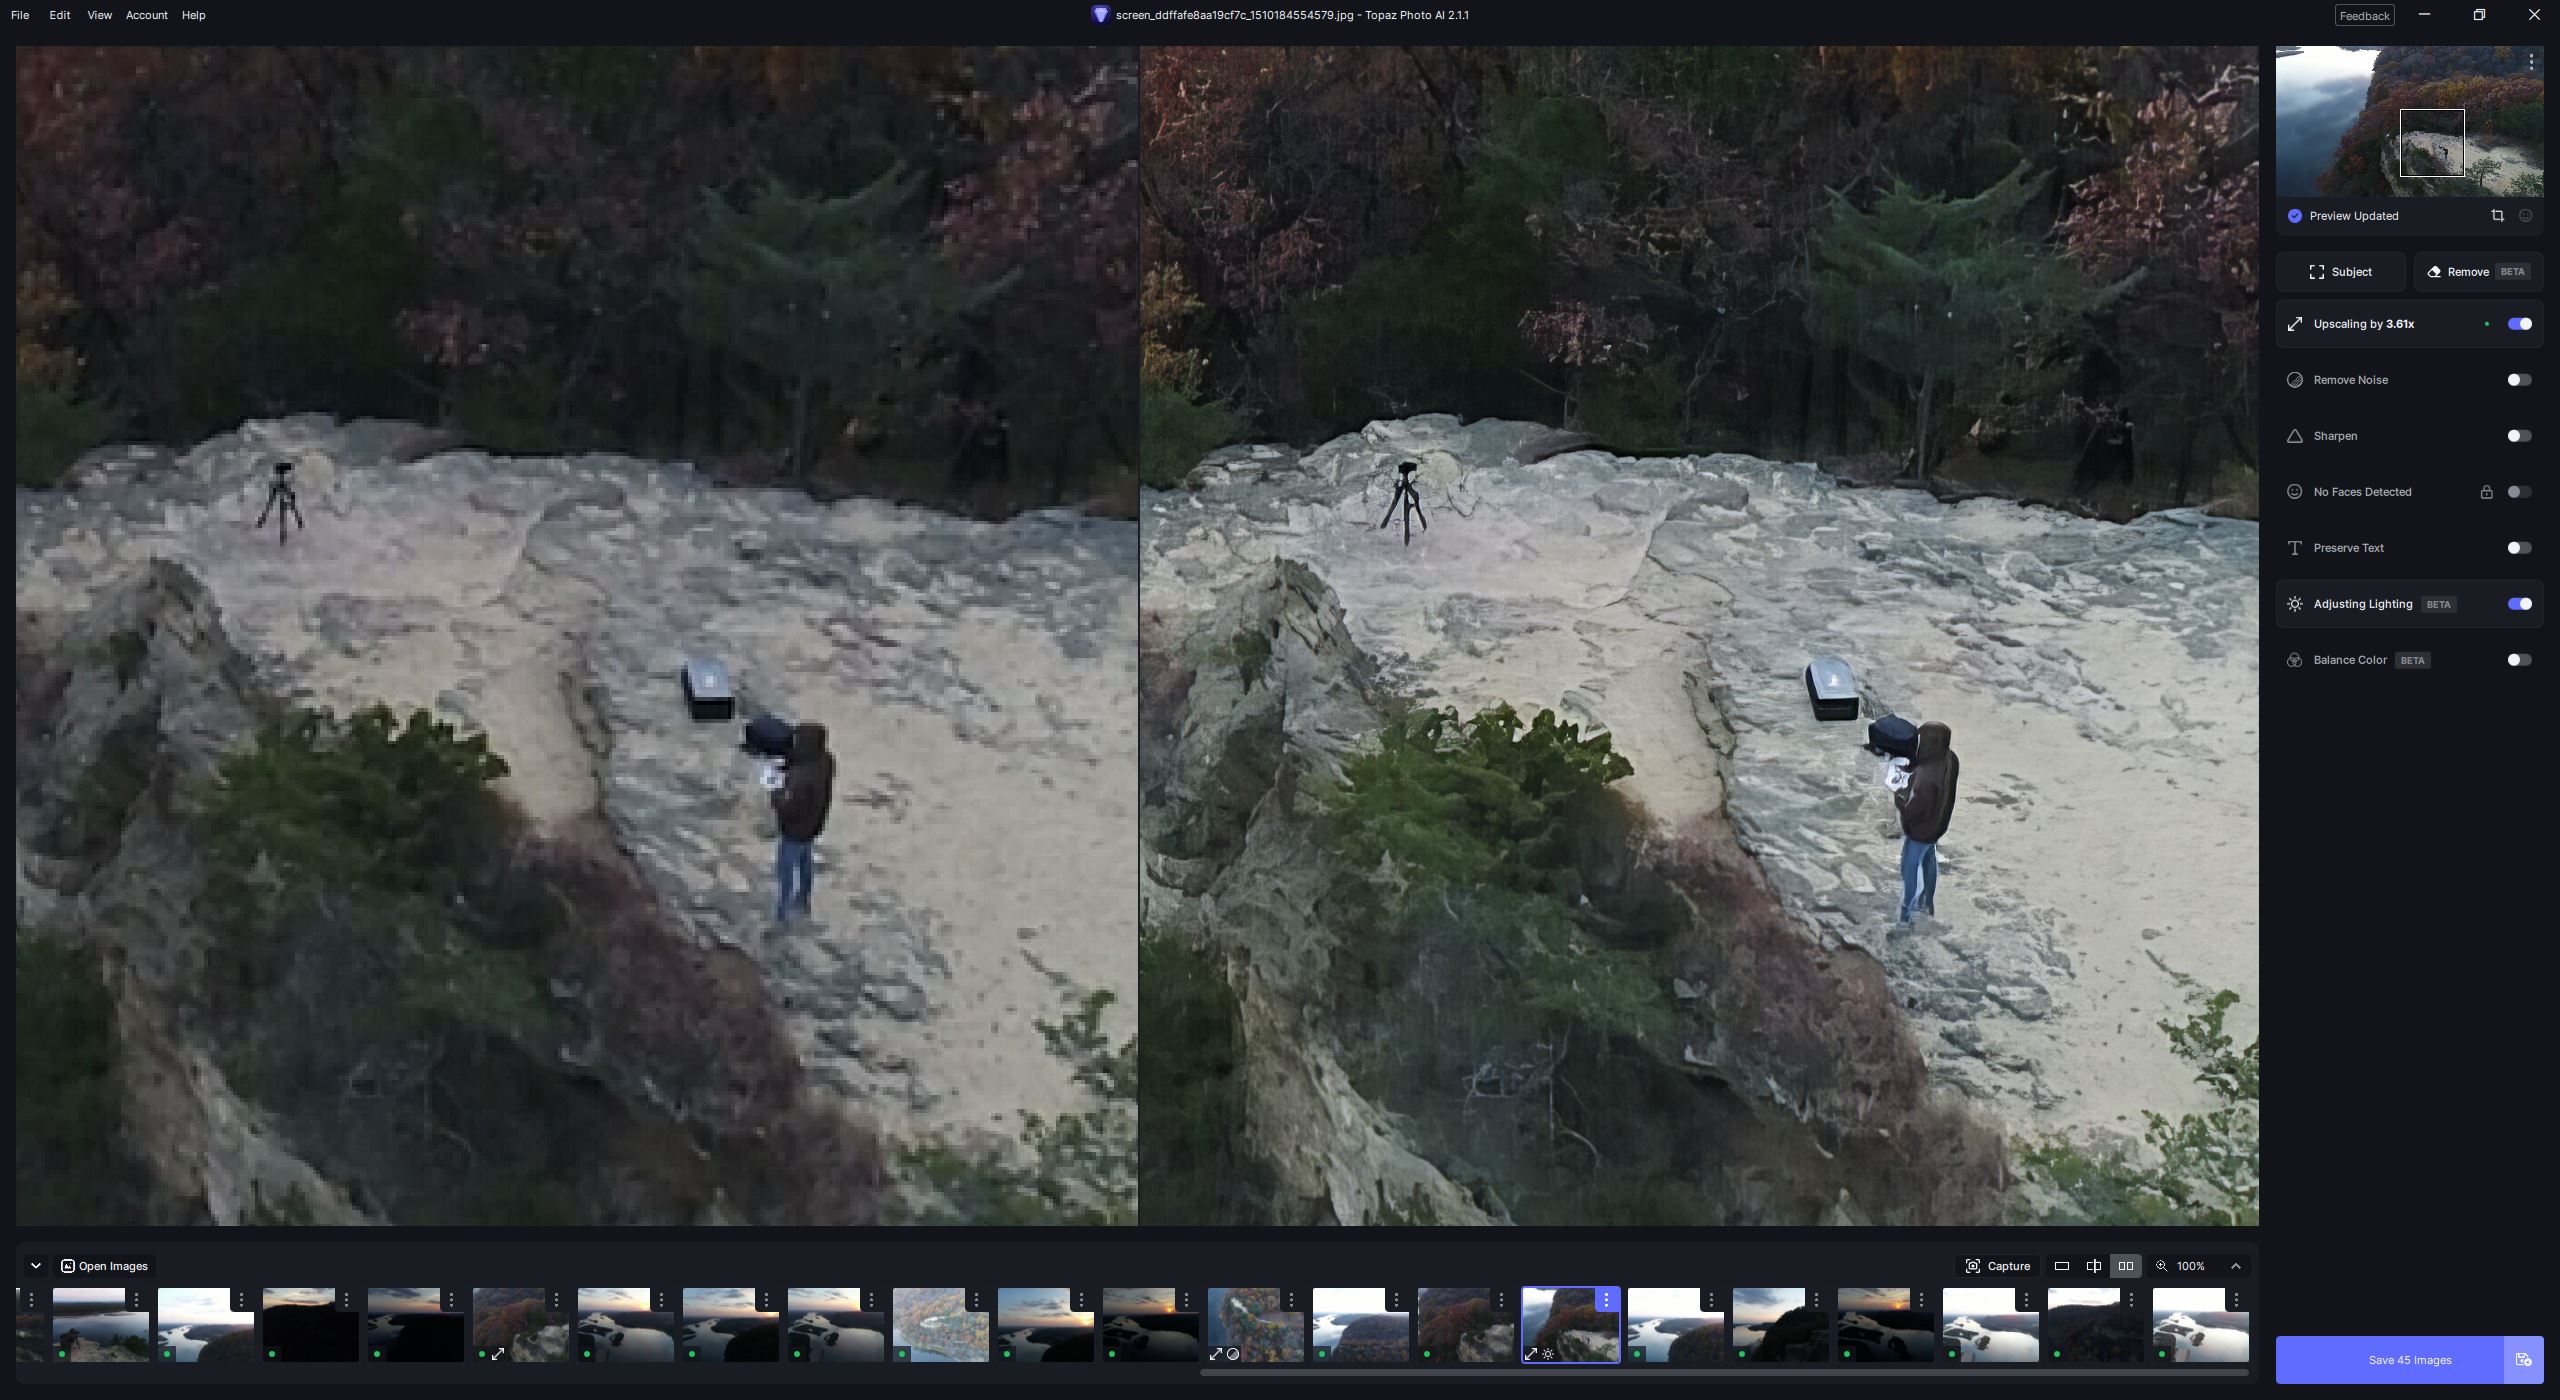
Adding “Adjusting Lighting”
This seems to be an okay addition.
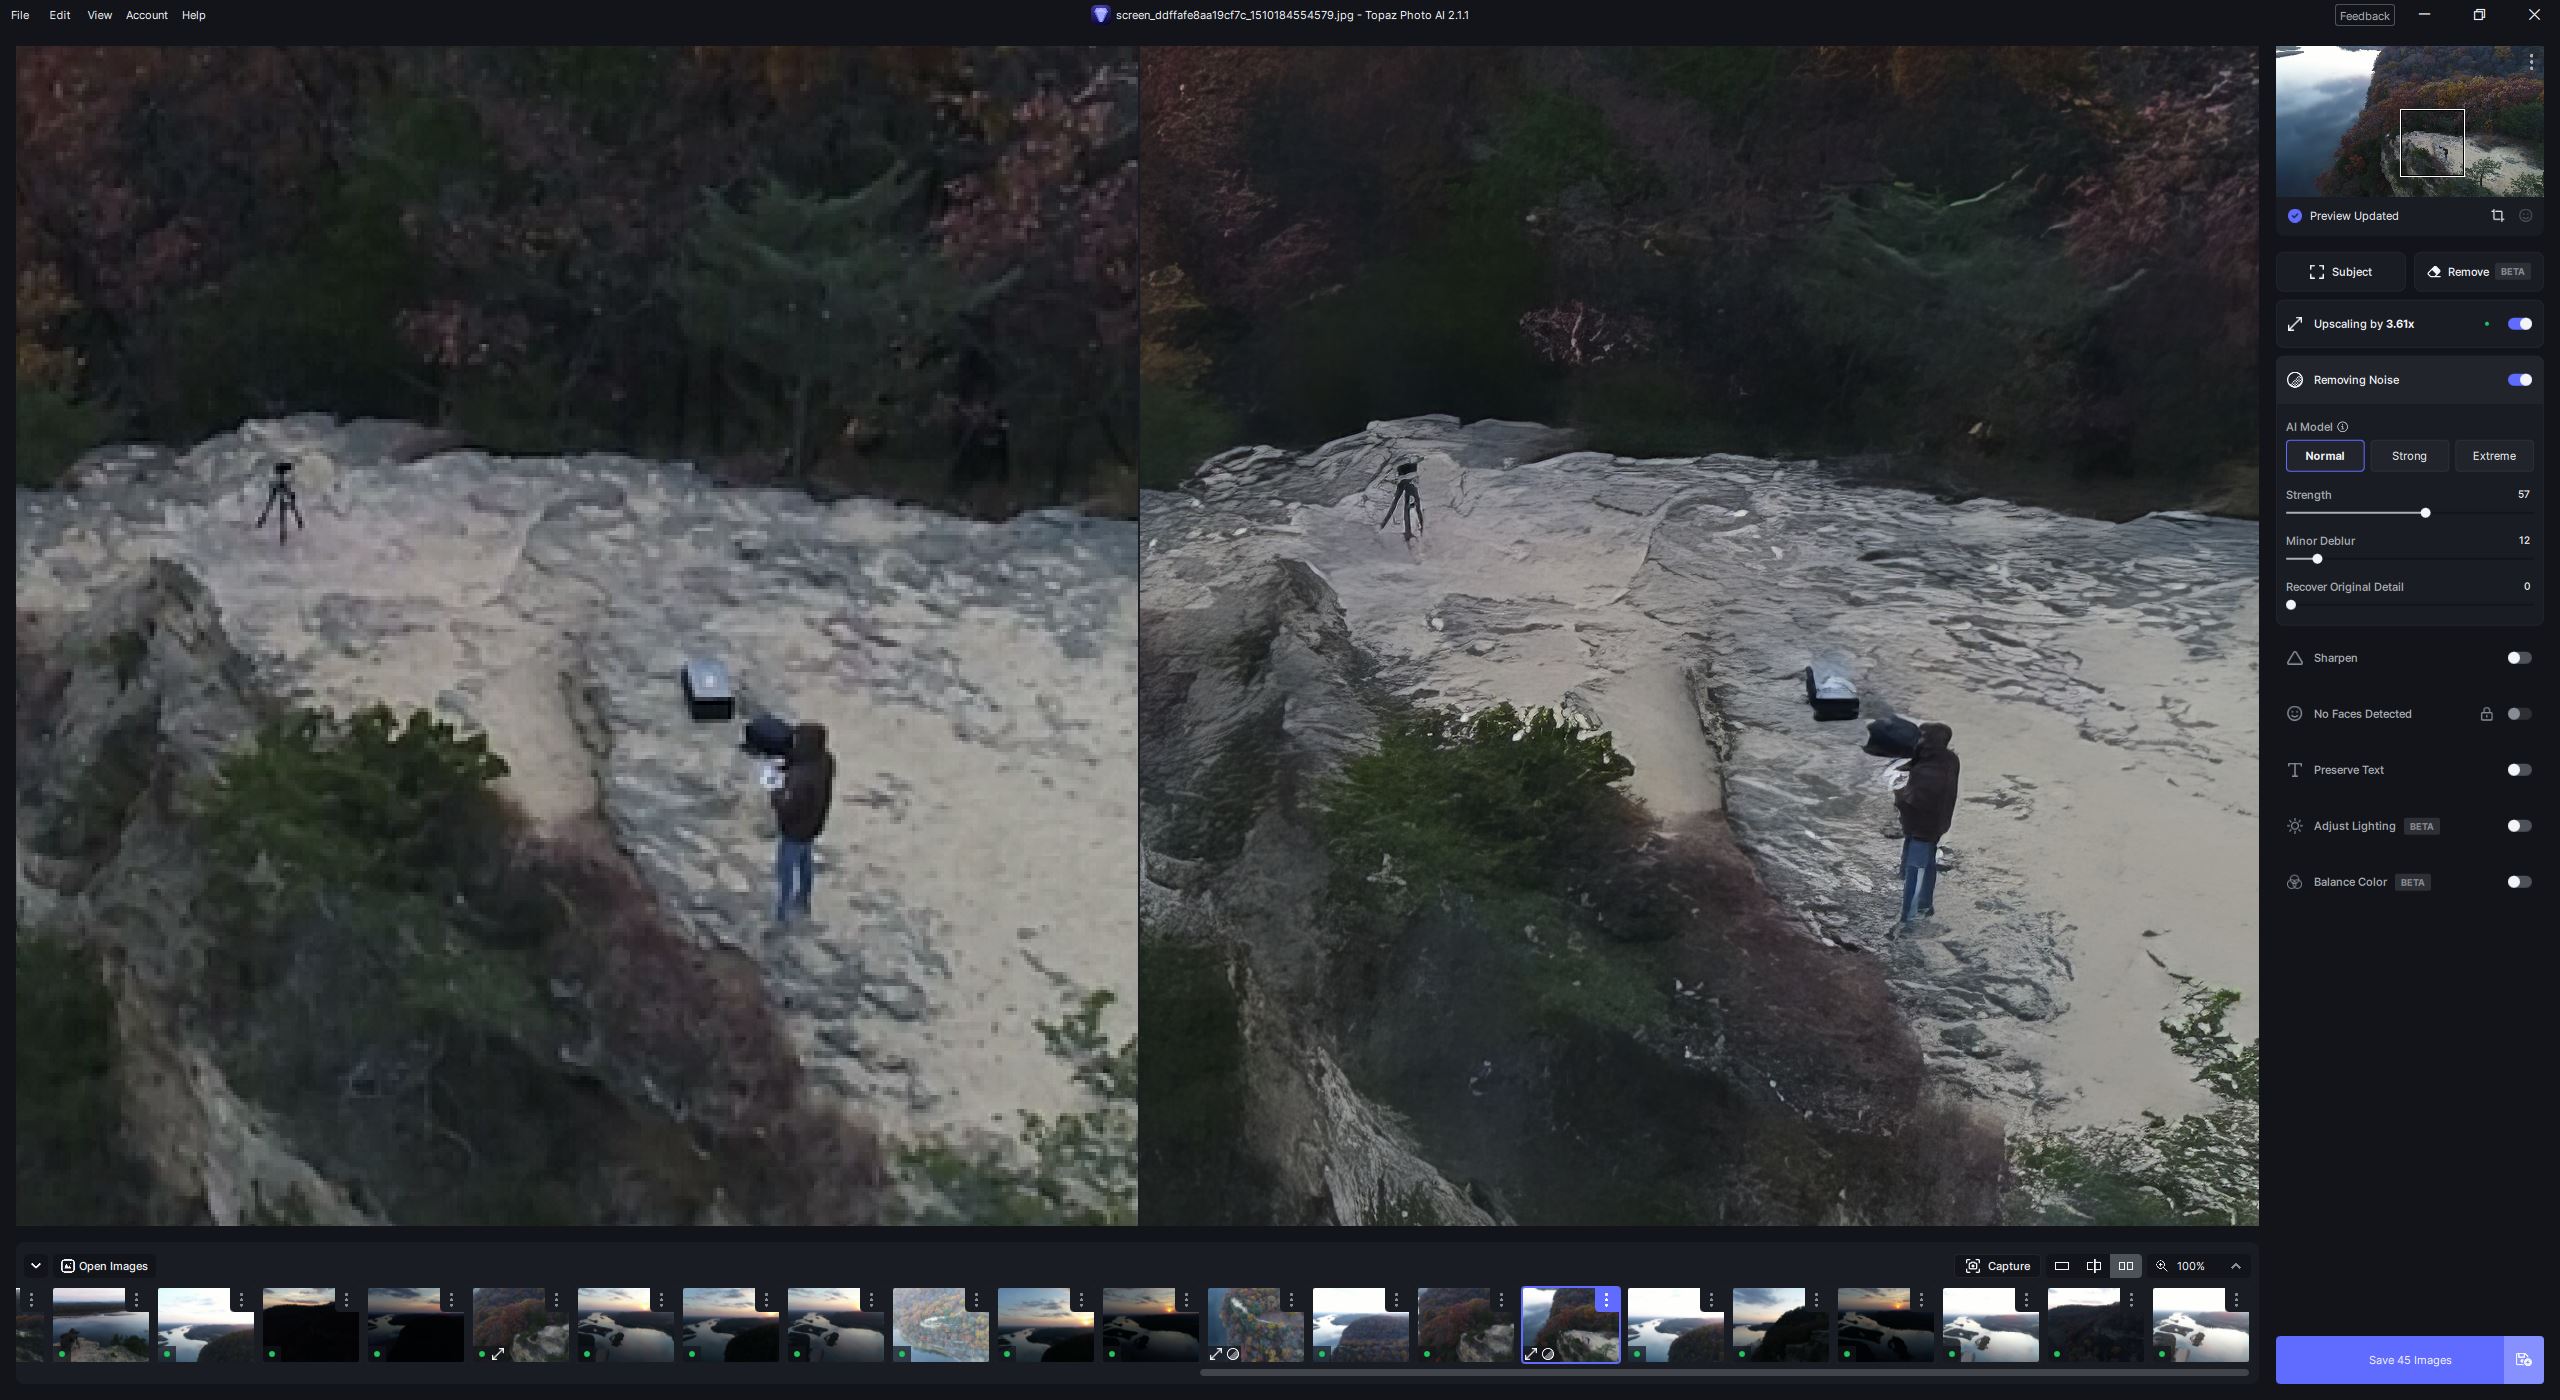
Removing Noise – Normal vs Extreme
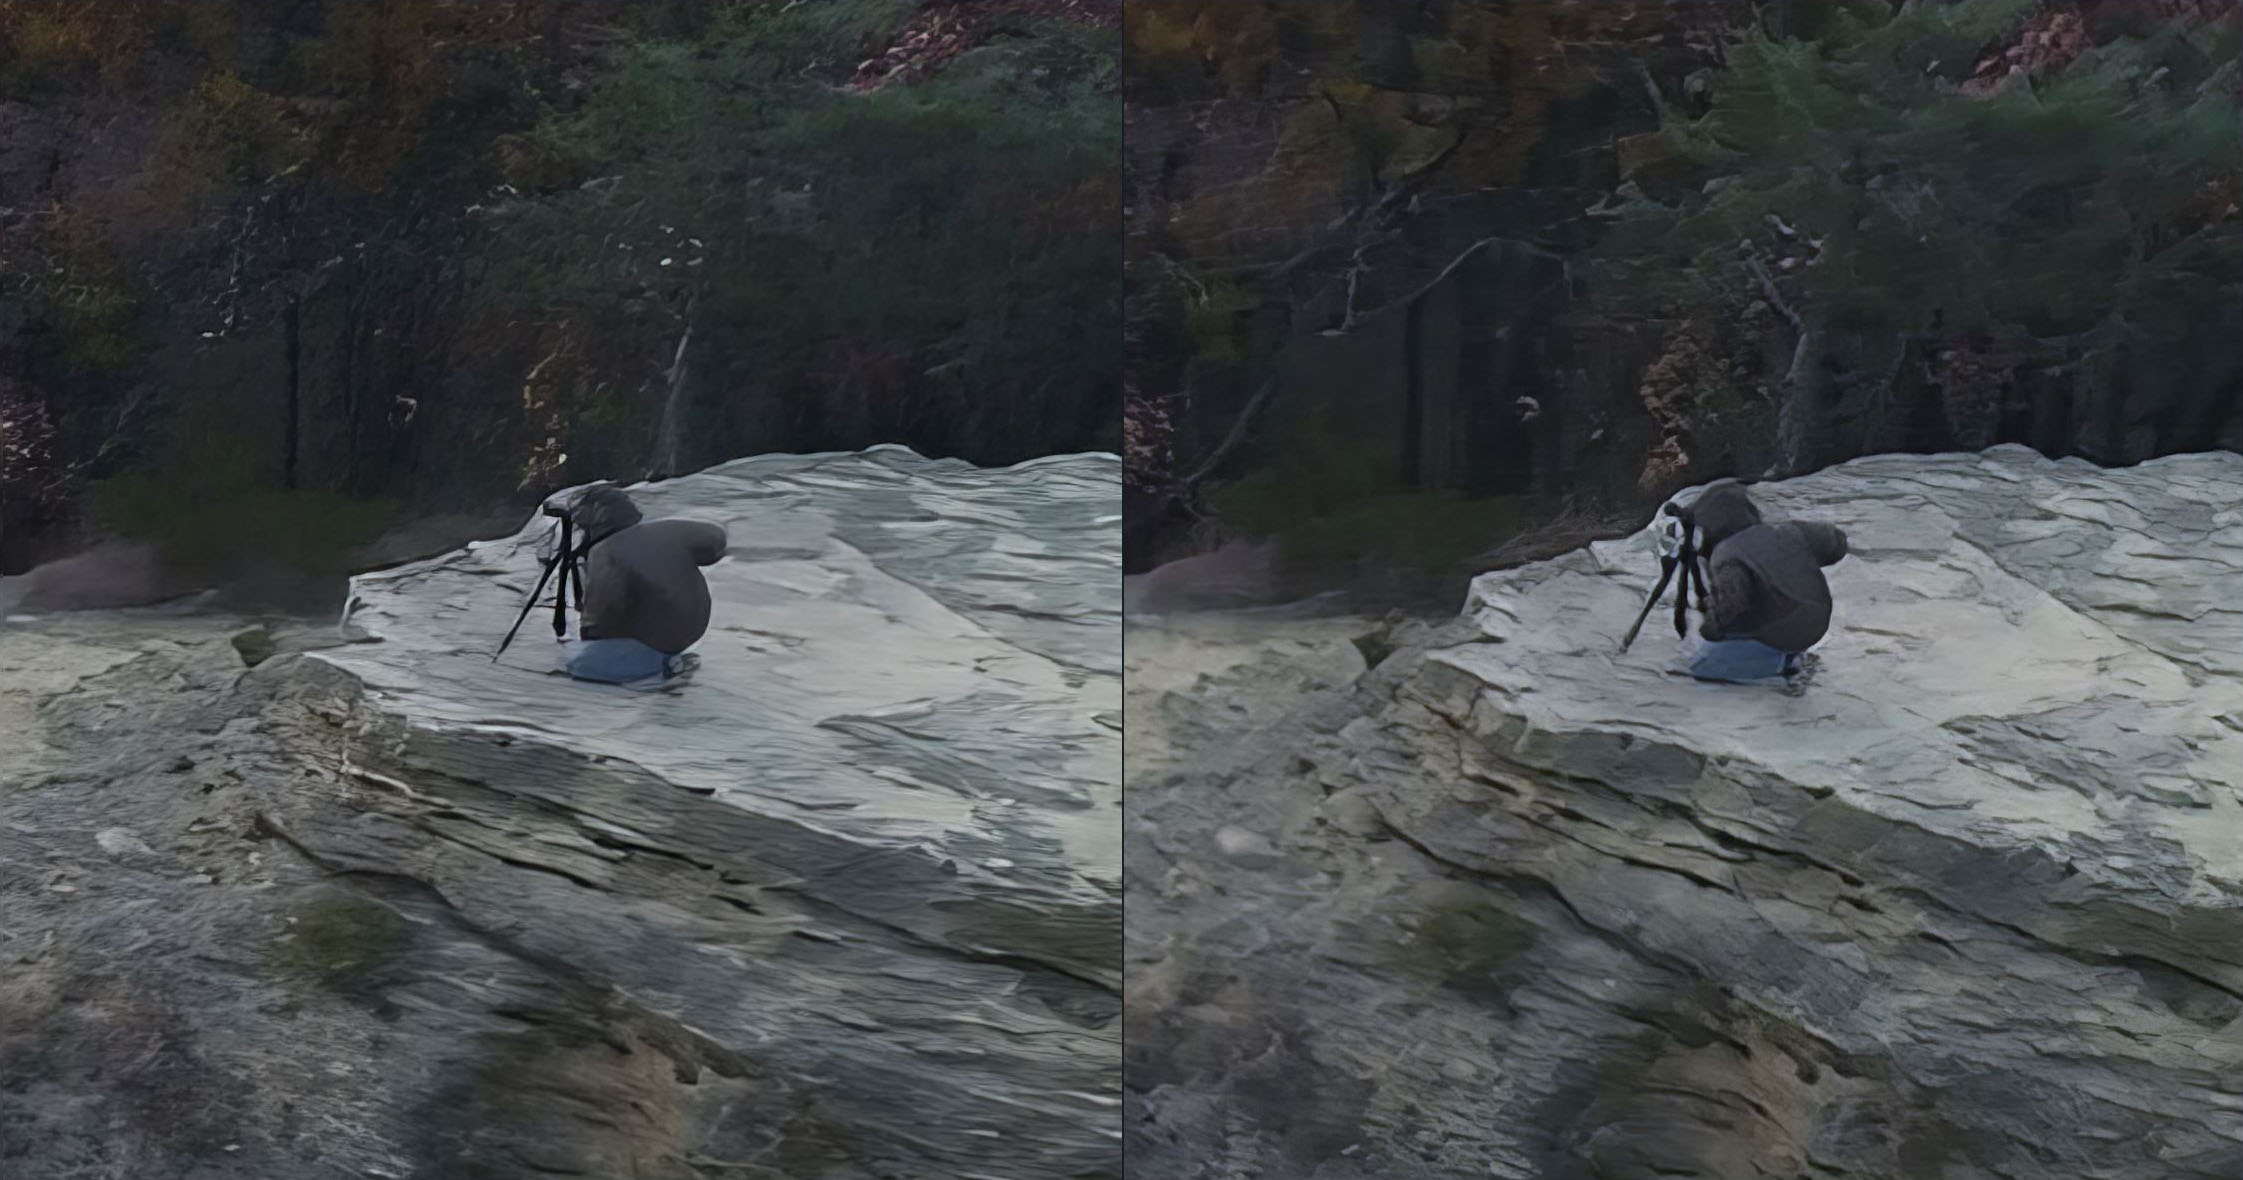
I’ve noticed that different settings can improve or worsen each photo. For instance, in this project, using the ‘Removing Noise (Extreme)’ option sometimes works better for the subject in an image than the ‘Removing Noise (Normal)’ option. However, the ‘Extreme’ setting doesn’t always give the best results for other parts of the image.
I’ve noticed that using the Extreme setting brings out more detail in my jacket, but it reduces the detail in the rocks.
In conclusion, my experiment with Topaz Photo AI to upscale and enhance images from my DJI Phantom 4 Pro drone has been quite insightful. The exercise underscored the importance of having adequate internal storage, like the 8GB found in newer DJI Pro Drones, which could have prevented the need for upscaling in the first place.
Throughout this process, using Topaz Photo AI’s latest version, 2.1.1, revealed the software’s evolution since its 2.0 release. The results varied depending on the feature used. Upscaling to 3.61x showed significant improvement in certain areas like the edges around a sandbar island and reflections, despite some areas still appearing muddy. The upscaled images exhibited enhanced contrast and vibrancy in colors.
However, not all features yielded positive outcomes. The ‘Removing Noise’ option, for instance, often introduced unnatural details and compromised the quality, especially in the tree area of the sandbar island. It seemed to artificially sharpen and create more pronounced reflections. The ‘Sharpening Subject’ and ‘Adjusting Lighting’ features provided mixed results, with the former being somewhat inconclusive in its effectiveness and the latter being an acceptable addition.
A key takeaway from this experiment is the realization that each photo responds differently to various settings. In some cases, the ‘Removing Noise (Extreme)’ option enhanced the subject of an image more effectively than the ‘Normal’ setting, but it did not always improve other parts of the image. For example, while it added more detail to my jacket, it simultaneously reduced the detail in the rocks.
This exploration with Topaz Photo AI highlights the delicate balance required in photo editing and the need to adjust settings based on the specific needs of each image. The journey through these different features emphasizes the complexity and potential of AI in photo enhancement, offering a glimpse into the future of photographic technology.
What is AI in Photo Editing?
AI in photo editing refers to the use of artificial intelligence technologies to enhance and simplify the process of editing images. These tools can automate repetitive tasks, suggest improvements, and even create complex edits with minimal input.
How Does AI Enhance Photo Editing?
AI enhances photo editing by introducing precision, efficiency, and creativity. It can analyze and adjust photos based on learned patterns, offering improvements like noise reduction, sharpness, and color correction, often with just a single click.
Are AI Photo Tools Suitable for Beginners?
Absolutely. Many AI photo tools are designed with user-friendly interfaces and automatic features, making them accessible to beginners. These tools can help novices achieve professional-looking results without needing extensive knowledge of traditional photo editing techniques.
Can AI Replace Professional Photo Editors?
While AI can significantly aid the editing process, it does not entirely replace the need for professional photo editors. Human creativity, judgment, and experience remain crucial in achieving the desired artistic vision. AI tools serve as powerful assistants in the editing workflow.