How to Use Luminar AI as a Plugin for Lightroom & Photoshop


When you install the new AI-inspired application Luminar AI, you will be prompted to install plugins for Lightroom, Photoshop, and all other supported applications. So far, I have tested Adobe Photoshop Lightroom Classic 10.0 and Adobe Photoshop 22.1.0.
Luminar AI Post Series
- How to Use Luminar AI as a Plugin for Lightroom & Photoshop
- (you are here :) )
- How Well Does the Composition AI Tool Work in Luminar AI?
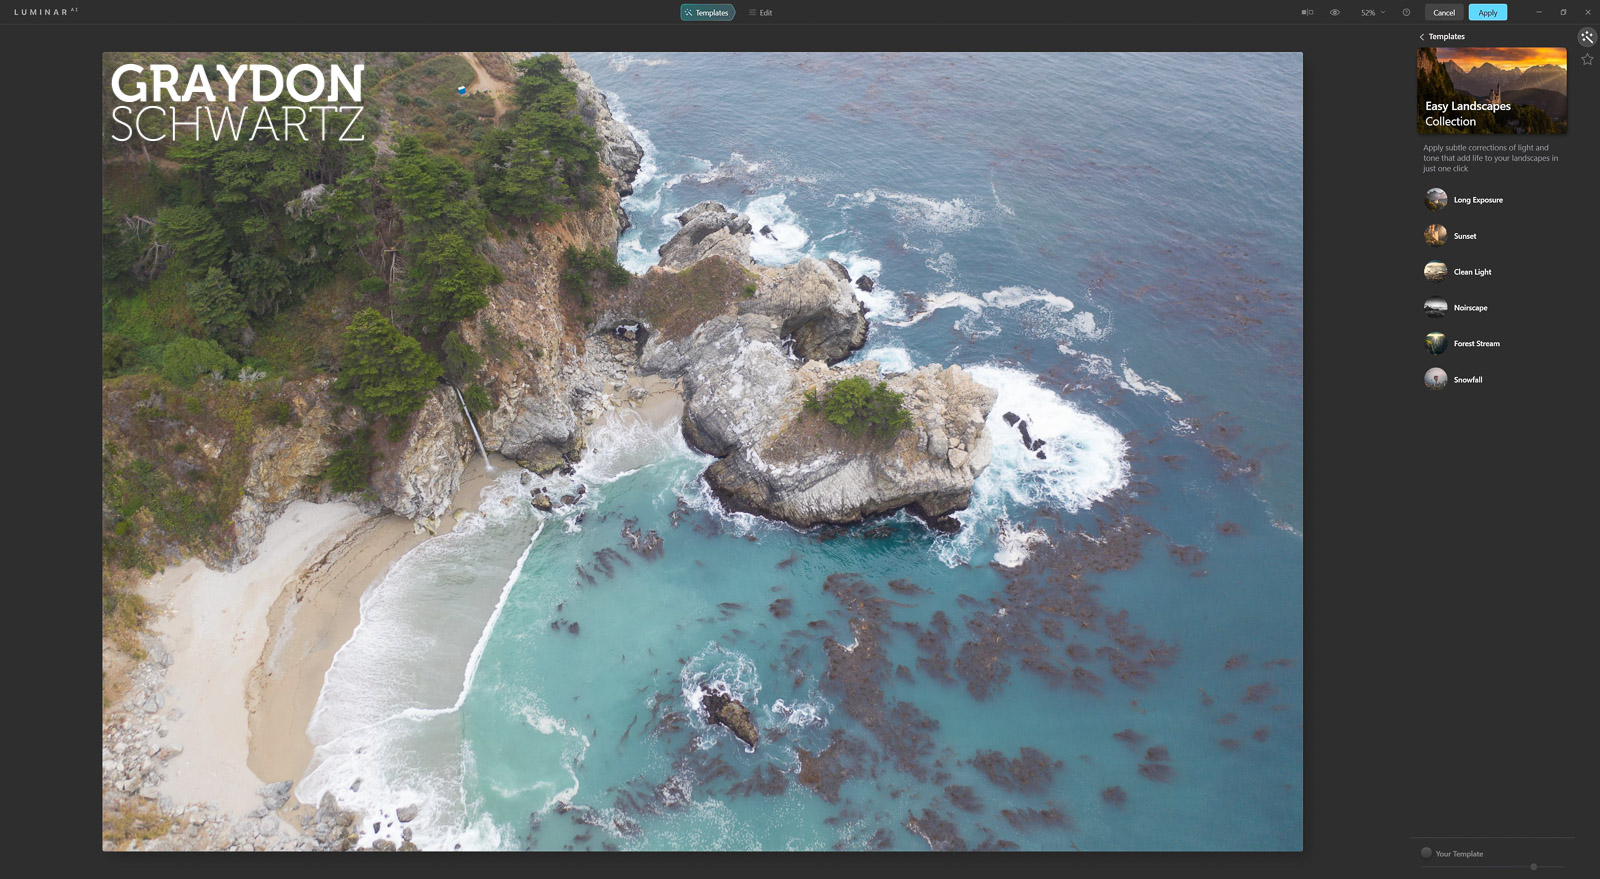
- First Look at Easy Landscapes Collection Within Luminar AI Photo Editor
How do you add application plugins later?
Launch Luminar AI from the desktop.
Click on the Luminar AI logo => File => Install Plugins... => Click Install on whichever applications you want support for.
Next, we will go over how to use the plug-in.
From Adobe Lightroom
In Lightroom, you can first perform all the edits you want, for example, when you need to turn down the lights or lift the shadows out of the darkness, etc. Lightroom will do a better job in these tasks because you are working on the RAW file itself.
OPTION #1
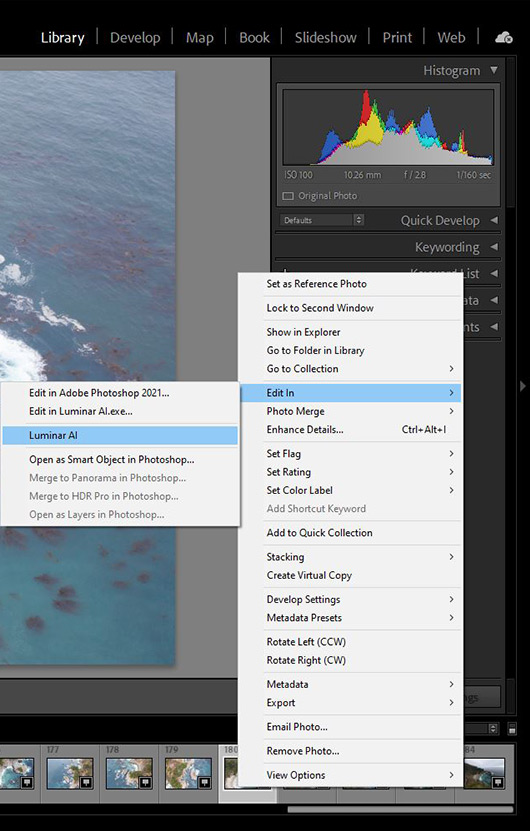
Right Click Image
=> Edit In
=> Luminar AI
You will be prompted with three options but from my experience, the only option that is selectable is: Edit a Copy with Lightroom Adjustments.
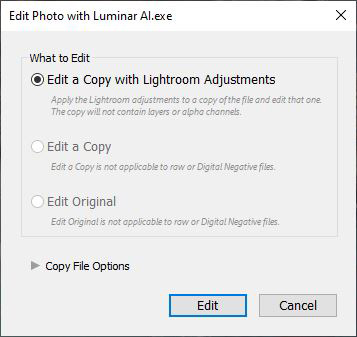
This opens a new instance of Luminar AI to edit your photo so if you follow this process again, you will end up with multiple instances of Luminar AI instead of having the application switch images.
This is actually a good response, because you don't lose any work that you've done before, just make sure you don't use too much system memory!
In my case, almost maximized RAM usage (15.1/15.9 GB 95%) with three copies of Luminar AI running, Adobe Lightroom, Adobe Photoshop, and a number of Chrome tabs open.
Two instances used approximately 2600-2850MB, or 6GB in total, and for some unknown reason the third used only 852MB.
I went down to one instance of Luminar AI and saw RAM usage drop down to 10.9GB.
OPTION #2
Alternately, you can right-click the image => Export => Open source files -OR- Edit a Copy with Lightroom Adjustments.
This option does not immediately create a TIFF file if you want to save disk space, play around in Luminar and decide not to export. In Luminar AI, click Apply when you are ready to save the editing in the file.
From Adobe Photoshop
Filter => Skylum Software => Luminar AI
This will take the current image in Photoshop, launch Luminar AI and opens it with Luminar AI.
With either option, if you decide you want to close out the application, your work won't be saved.
You may want to duplicate your image layer in Photoshop if you want to have a before & after later or if you want to tweak your look with blend modes, but I will leave that up to you.
In the case of Lightroom, it will create a TIFF file when you perform the steps above. If you go through with all of the editing steps you will be prompted to save your image and it will update the created TIFF file. It will be updated in your Lightroom library.
If you want to learn more. Next, I will be show how CompositionAI works!
https://graydonschwartz.com/how-well-does-the-composition-ai-tool-work-in-luminar-ai/