How to Migrate Your WordPress Site to Rocket.net

Learn how to migrate your WordPress site to Rocket.net for better managed WordPress, more predictable billing, full page caching and two firewalls to protect against website attacks. Rocket.net also offers free migrations in case it is too much work for you to do this but I didn’t mind the work for my site.
There are many reasons to change hosting provider. As an agency that manages multiple WordPress sites, you waste time memorizing hundreds of passwords and visiting a different provider’s login screen every time you want to optimize something.
FULL REVIEW: Rocket.net Review: Best Managed WordPress Hosting (2021)
Rocket Plans
All plans include Free SSL, CDN, & WAF.
Use coupon code “GRAYDON30” for 30% off for 3 months of any one of Rocket.net’s hosting packages. Click the button below to create an account with Rocket.net.
If you move your site to Rocket.net and decide you don’t like it within the first 30 days, they’ll refund you and even migrate you back to your original host.
Create New Site
Rocket.net > Sites > Create Site
Step 1. Enter Your Site Details
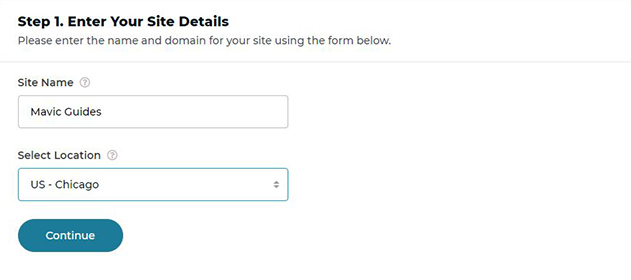
- Site Name
- Select Location
Step 2. Enter WordPress Information
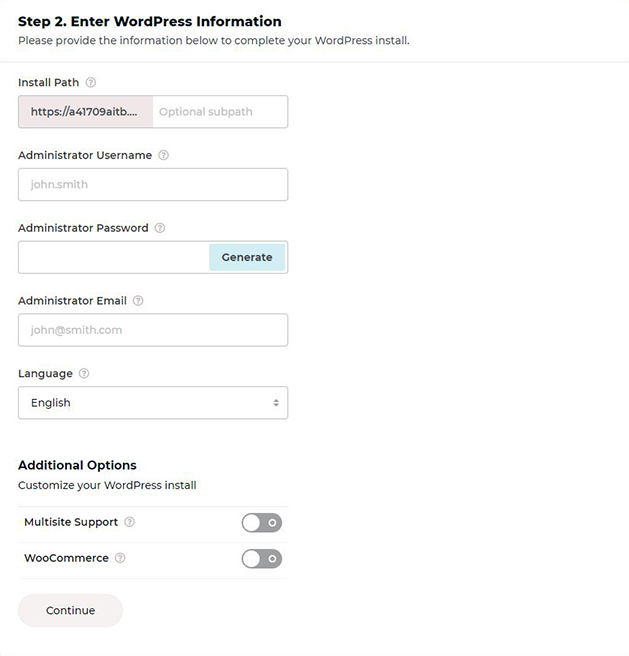
- Install Path (OPTIONAL)
- Administrator Username (REQUIRED)
- Administrator Password (REQUIRED)
- Administrator Email (REQUIRED)
- Language (OPTIONAL)
- Multisite Support (OPTIONAL)
- WooCommerce (OPTIONAL)
Click (Continue).
LOGIN
Click on SITES from the main menu.
Click on WordPress icon underneath WP ADMIN for your newly created website (*.onrocket.site).
You won’t be prompted to login and go straight into WordPress Administration.
I’ve uninstalled all plugins that I don’t need for this install. I’m going to set up a fresh installation, so there will be fewer plugins to slow things down.
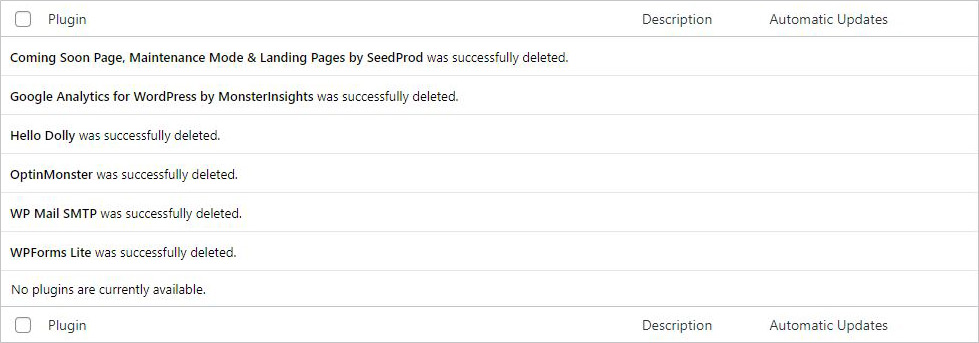
Rocket.net comes pre-installed with:
- Akismet Anti-Spam (WP Default)
- Coming Soon Page: Maintenance Mode & Landing Pages by SeedProd
- Google Analytics for WordPress by MonsterInsights
- Hello Dolly (WP Default)
- OptinMonster
- WP Mail SMTP (I opt to use mailgun instead)
- WPForms Lite
Auto Migration
Plugins > Add New
Enter (WPVIVID) for Keyword Search
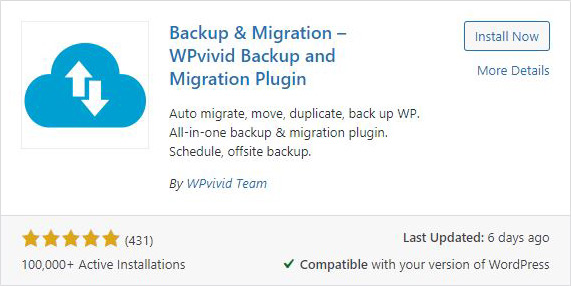
Click on Install Now for Backup & Migration – WPvivid Backup and Migration Plugin.
WPvivid Backup > Backup & Restore > Key
Click on Generate.
A key will be generated in the field below the button you just clicked. We will use this key now on the site we want to transfer to Rocket.net.
I will now generate a key in the field below the button that I just clicked. I will use this key on the old web hosting provider, so that I can transfer my data from Closte.com to Rocket.net.
Install WPvivid Backup Plugin on your source website before continuing.
WPvivid Backup > Backup & Restore > Auto-Migration (From Source WordPress Site)
Paste key you generated on your new Rocket.net WordPress install into this field and click Save.
Next, click on Clone then Transfer. This will take while.
Transfer succeeded. Please scan the backup list on the destination site to display the backup, then restore the backup.
Click OK (prompt).
WPvivid Backup > Backup & Restore (Rocket.net WordPress)
Click Restore next to the backup that was just transferred.
After you restore the backup you will be prompted to log back in (with the log-in from your backup).
You can un-install WPvivid Backup Plugin if you want to reduce your plugins. I did because Rocket.net provides automatic backups outside the WordPress instance which helps reduce resources on your website.
Ready to Go Live?
Rocket.net > Sites > Get Started
Step 1. Change Domain Name
- Enter your domain name: https://website.com
ATTENTION: Be very careful when entering your domain name at this stage. I thought I entered mine correctly, but autocorrect on my Galaxy S20 had me entering the wrong name and I had to contact support to correct the error. This was fixed fast but I want to help you avoid this issue.
Step 2. Configure SSL
- TXT @
- TXT _cf-custum-hostname
Click I’ve Added TXT Records, Continue (button).
Step 3. Update DNS
- CNAME @
Click “I’ve Updated My DNS” (button).
You should now be able to access your website with your domain name, which is operated by Rocket.net and Cloudflare Enterprise!
If you have any questions, do not hesitate to ask in the comments section below. 😃